About This Project
Becky & Zach approached Beams to Basements with a clear vision for their home renovation, equipped with carefully selected cabinets and design elements. They expected a straightforward update to their kitchen and bathroom, but the discovery of asbestos in the demo zone transformed how their renovation would be completed.
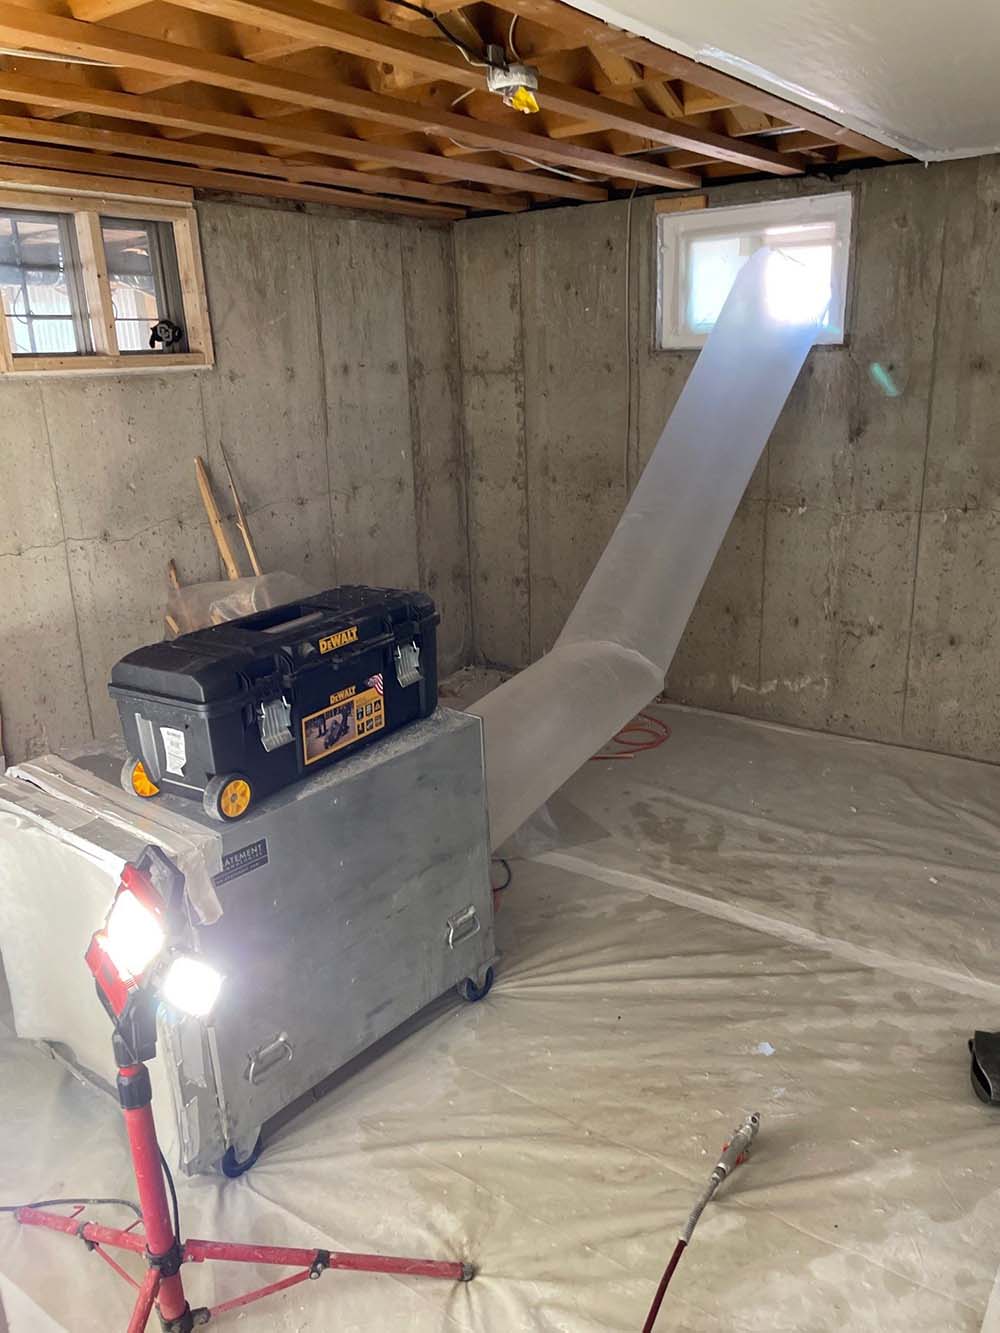
The homeowners promptly hired a certified remediation company who worked in tandem with Beams to Basements to safely remove and dispose of the contaminated materials. Our team meticulously marked out areas for demolition for new locations of can lights and heating vents, so the remediation experts could carefully handle the asbestos-containing building materials. The homeowners were relieved that the cost for testing and proper remediation (approximately $4,500) did NOT bust their budget as they’d feared it would.
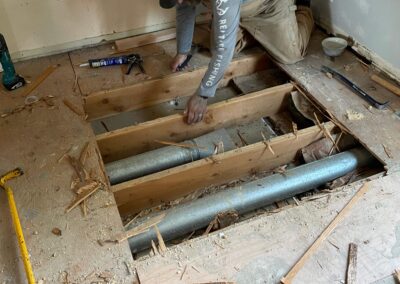
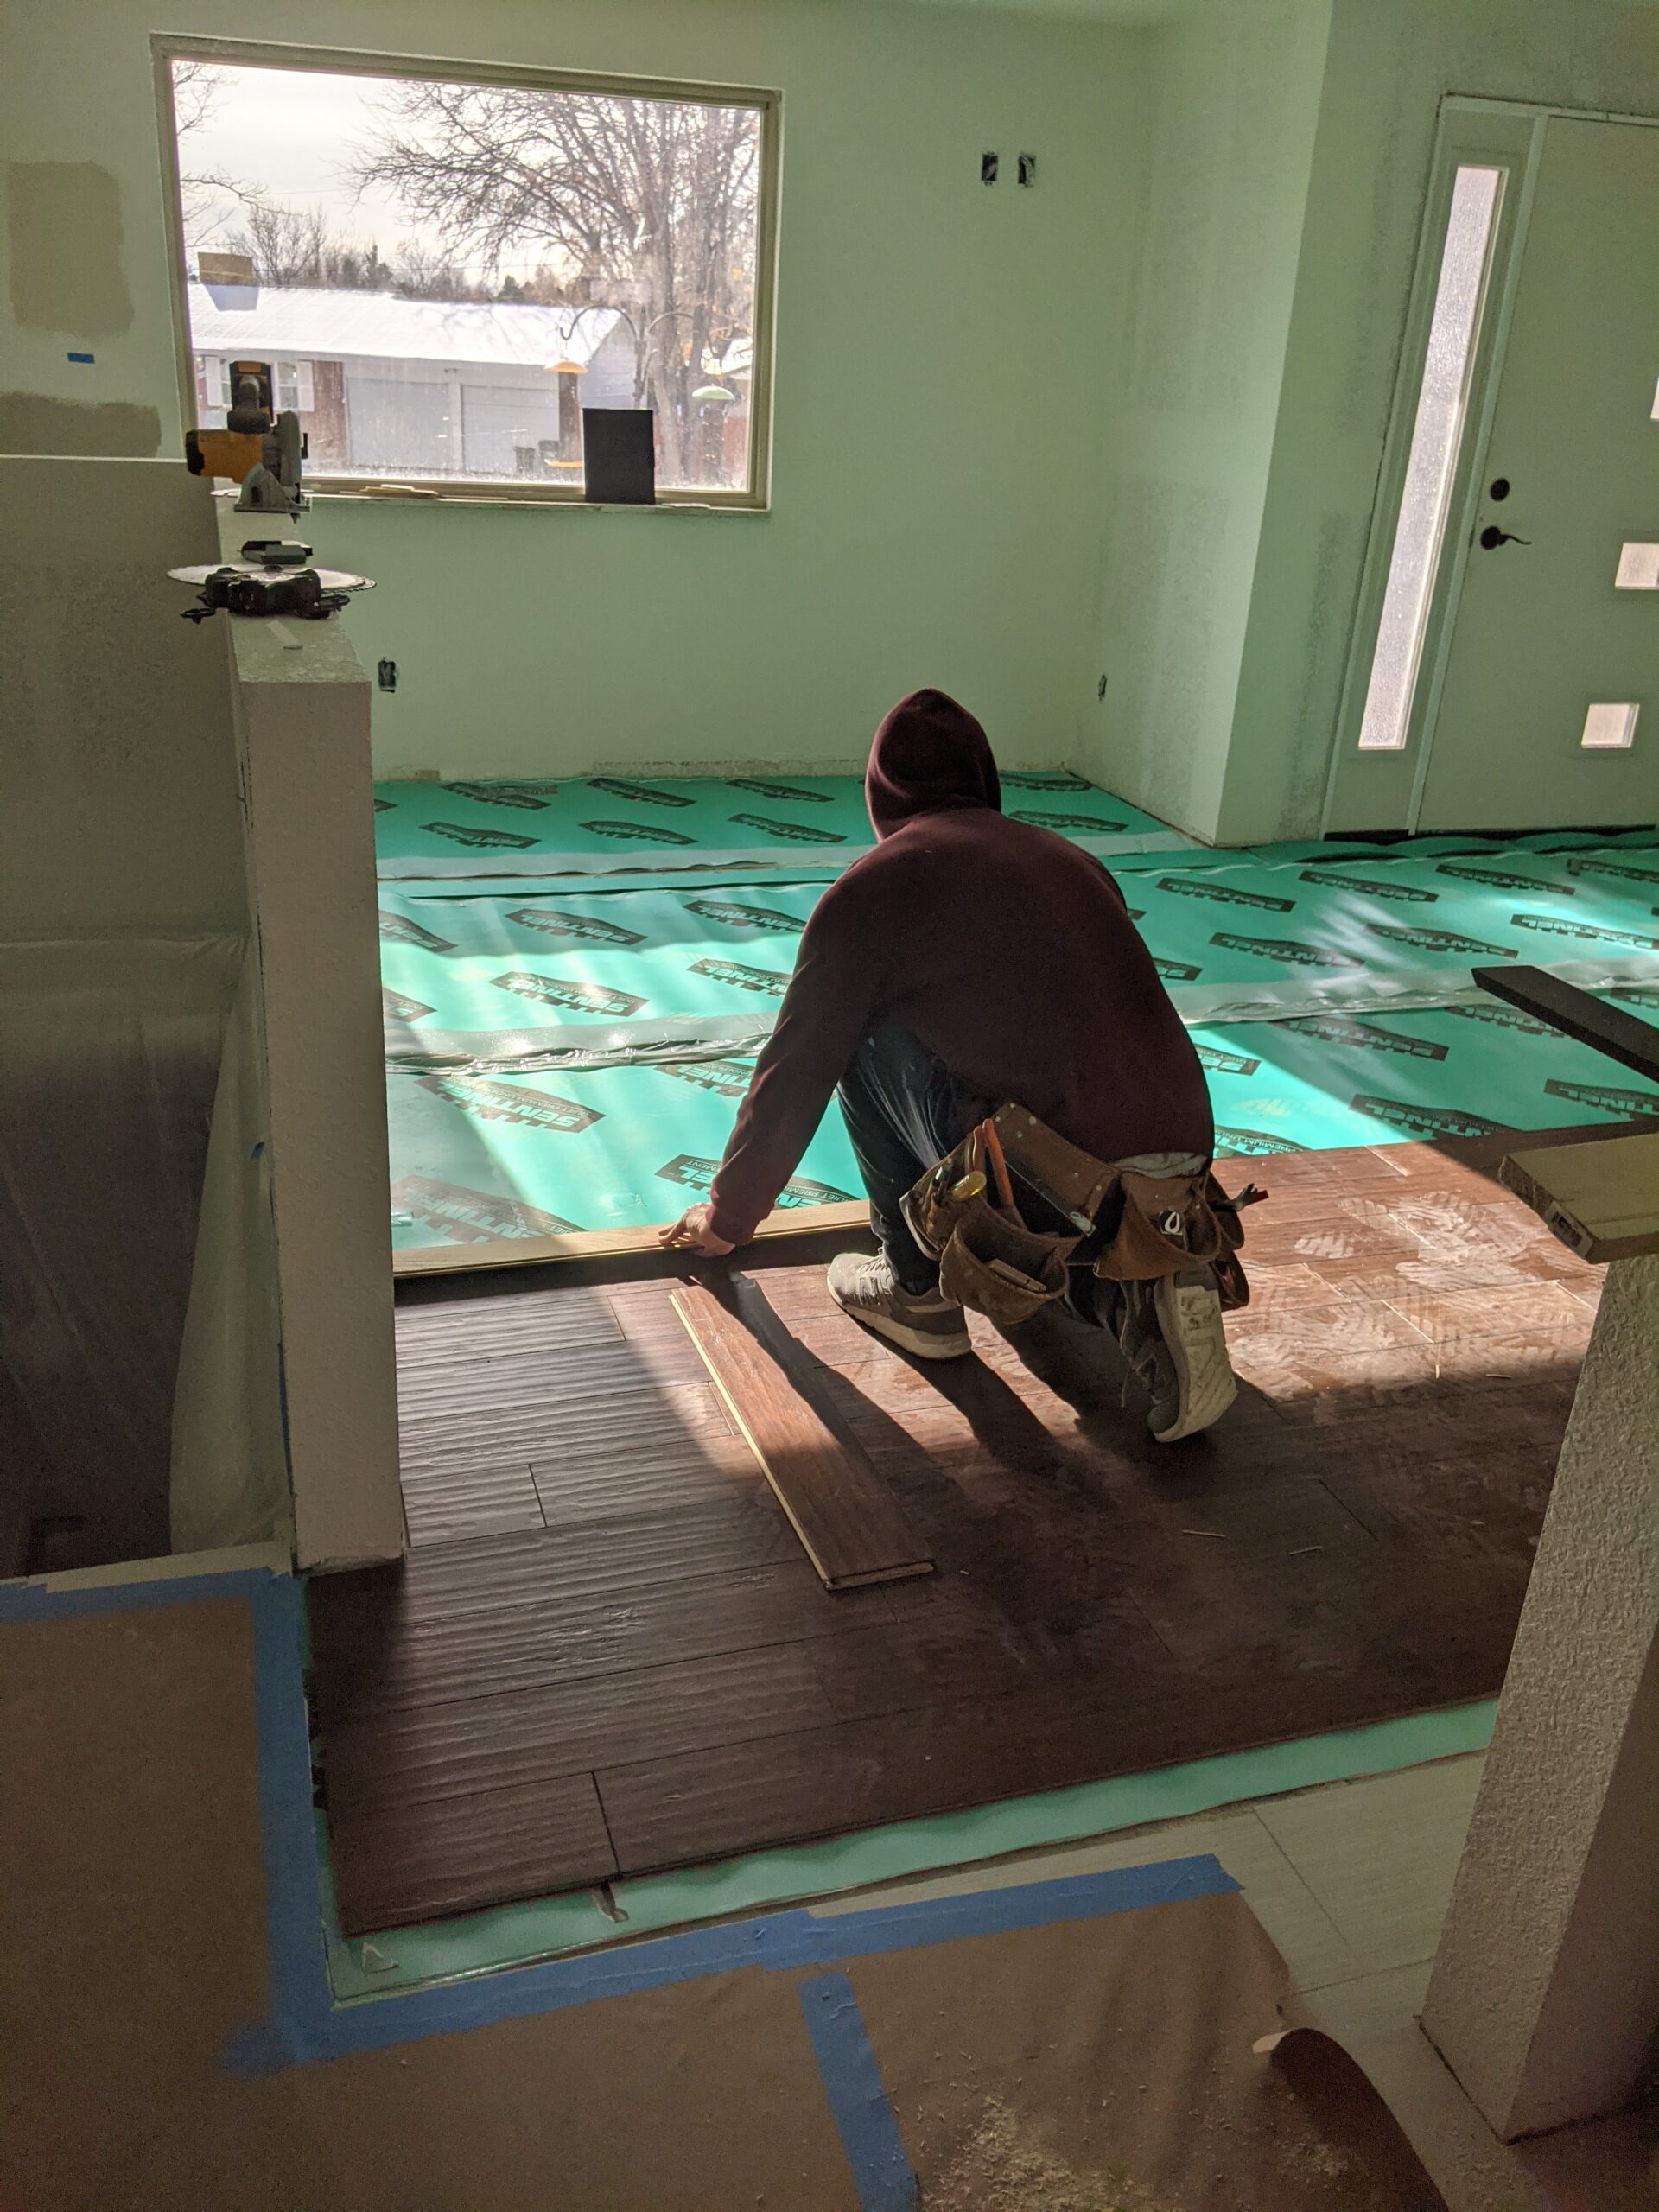
The project also highlights our team’s exceptional problem-solving skills when they discovered weaknesses in the subfloors. Josh had planned to remove an extra subfloor layer to create seamless integration between the new kitchen tile and existing hardwood floors. Through resourceful planning, he minimized material costs by repurposing plywood from the kitchen floor to repair the subfloors. This adjustment was communicated transparently to the homeowners through pictures and an official Change Order, ensuring their full understanding and approval of the necessary changes to their project cost and timeline.
Doing a project the right way, especially with environmental testing and remediation, is not just a safety measure and legal requirement, but also a pathway to achieving a dream renovation.
Ready to transform your home?
Schedule a consultation
Is your kitchen, bathroom, or basement in need of a makeover? It’s time to ensure your space works best for your lifestyle. Whether you’re looking to modernize your kitchen, create a spa-like bathroom retreat, or transform your basement into a functional living area, our team at Beams to Basements is here to help. Schedule a consultation to discuss how we can turn your renovation dreams into reality. Let’s create a home that perfectly suits your needs and style!
Photo Gallery
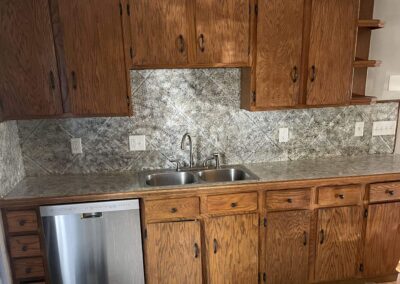
1.Before-Dated Kitchen
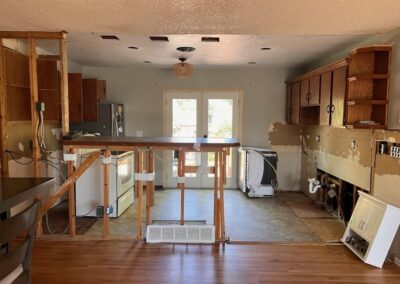
#BEFORE This outdated kitchen featured oak cabinets that don’t go to the ceiling, open corner shelves, linoleum tiles on floor, big tiles for the countertops & backsplash, and small useless drawers on left.
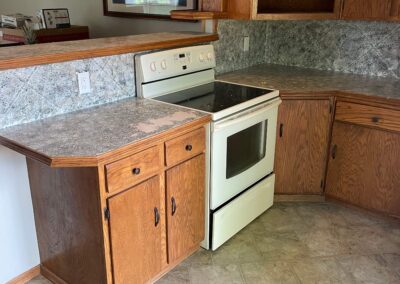
2.Before-Kitchen Peninsula
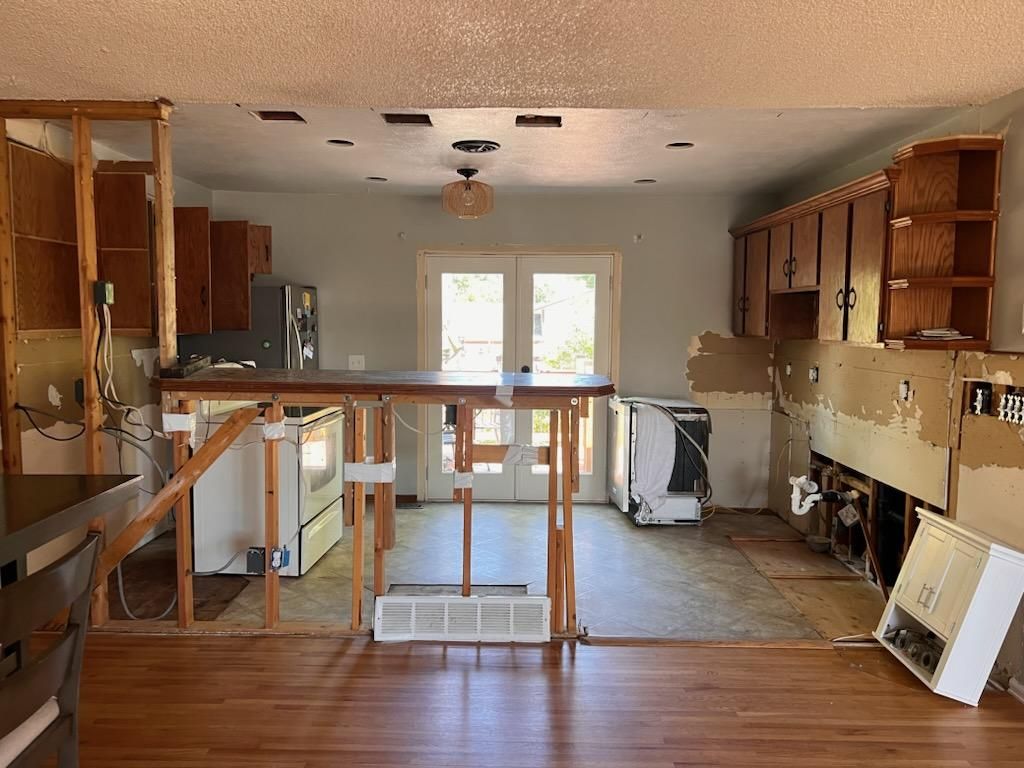
#BEFORE The stove area showed this kitchen’s age. Not only was the countertop tile worn or burnt, but the awkward pony wall was an ineffective use of space. The top wasn’t wide enough to be used as a food prep area and there was dead space behind the wall (to the left of the cabinets). Plus, it interrupted the flow into the dining/living room area.
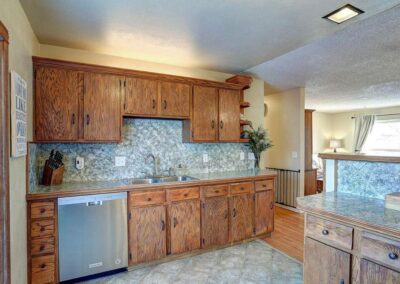
3.Before-Kitchen Side
#BEFORE The outdated cabinets and finishes continued to the other side of the kitchen, with another set of awkward corner shelves. The only part worth saving was the newer dishwasher, which we reinstalled in a new spot when we remodeled this kitchen.
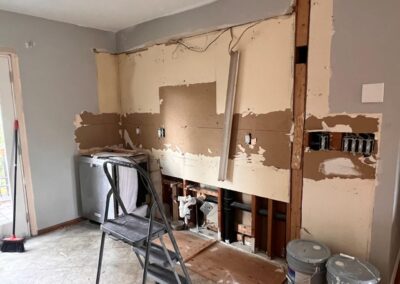
4.During-Removal of Upper Cabinets
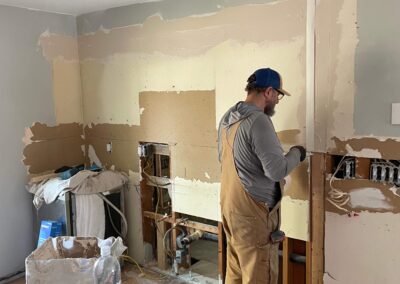
#DURING Next, we removed the outdated upper oak cabinetry from this long wall. Plus, the master plumber removed some of the old plumbing and installed new valves for the kitchen sink. A state-licensed electrician updated the kitchen outlets and added light switches for the new can lights while he had access to install the wiring in the open walls.
5.Demo of Pony Wall
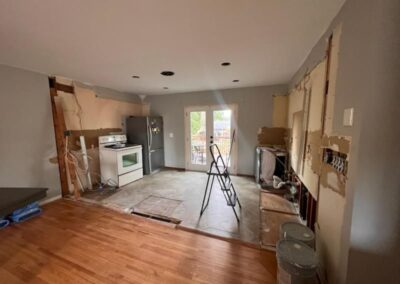
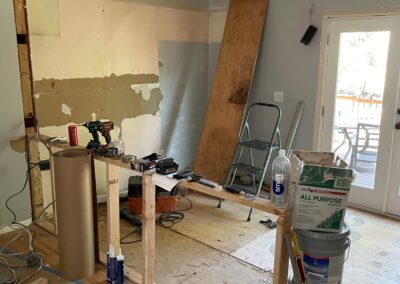
#DURING First, the certified remediation company removed all of the asbestos-containing materials. (See the holes in the ceiling for the new can lights and exhaust fan?) Then, we continued the kitchen demo by removing the pony wall and lower cabinets.
6.During-Demo Kitchen
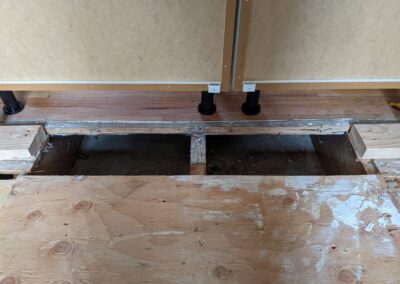
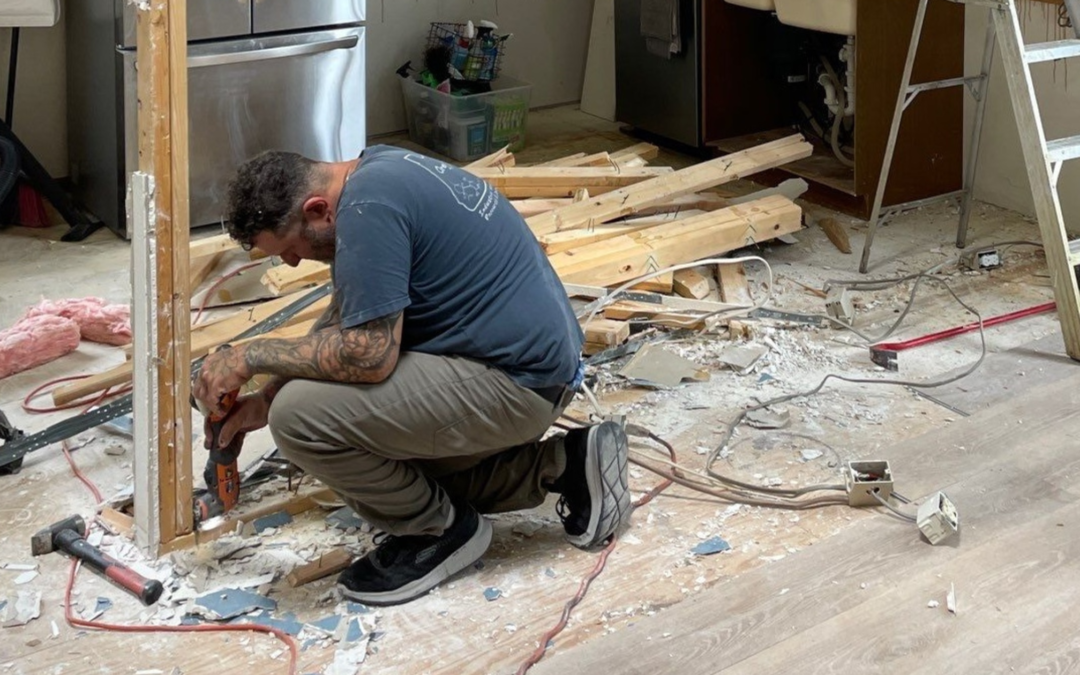
#DURING Our team removed the pony wall, existing cabinetry, and old plumbing fixtures. With the framing exposed, state-licensed plumbers and electricians could move and update the pipes and wires for the new design and current safety codes. Next, we replaced the pony wall with a custom peninsula and removed the kitchen tile floor. Note the hole in the floor where the pony wall was — this is vent space for heating the kitchen area. We incorporated this essential element into the custom peninsula. Also, you can see that the kitchen floor is higher than the original hardwood flooring in the living room. We reused materials to repair the subfloor and help minimize the difference.
7.During- Damaged Subfloor
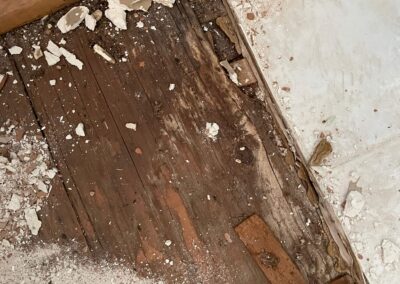
#DURING When our team removed the kitchen flooring, we discovered that the subfloor was damaged. We shared these pictures with the homeowners to explain this problem that we couldn’t have seen until the materials on top were removed.
8.During-Removing Subfloor
#DURING Our carpenter repurposed the extra layer of subfloor from 1 part of the kitchen to repair the damaged subfloor in another section. This creative problem solving saved the homeowners on materials costs when we discovered the damaged subfloor. In between each exposed floor joist, you can see the home’s ductwork.
9.During-Repairing Drywall
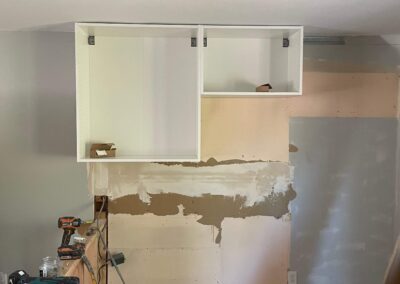
#DURING We repaired the drywall before the installation of new cabinetry and tile backsplash.
10.During-Hanging of New Cabinets
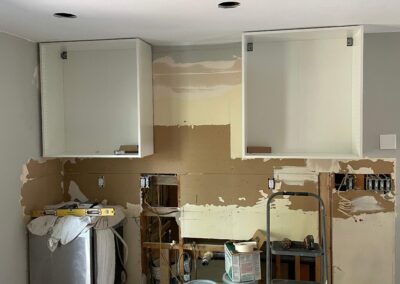
#DURING The new subfloor can be seen as the team started hanging the new, modern, white kitchen cabinet boxes.
11.During-New Plumbing in Kitchen for both
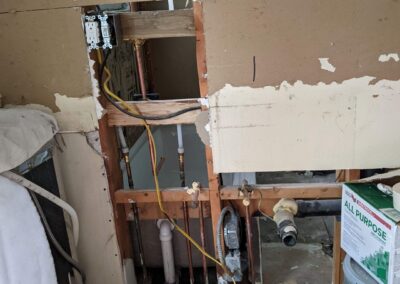
#DURING New plumbing was installed in the shared wall between the kitchen and the bathroom, supplying water to both rooms.
12.During- New Cabinets and Peninsula Framing
#DURING The modern kitchen cabinet boxes are secured to the wall with a metal rail system that you can see to the right of the upper cabinets and on the back of the cabinet on the floor (bottom right).
13.During-Beginning of Peninsula
#DURING After the subfloor was repaired, we began framing the custom kitchen peninsula with an interior wall to better support the new solid stone countertop.
14.During- Venting in Peninsula
#DURING A hole was cut in the new subfloor to accommodate the existing heating vent beneath the new custom peninsula.
15.During-Peninsula Counters
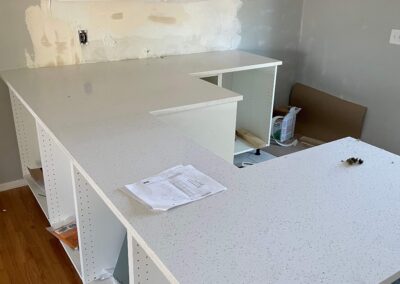
#DURING The custom peninsula was installed and topped with a speckled, solid stone countertop.
16.During- New cabinets and counters
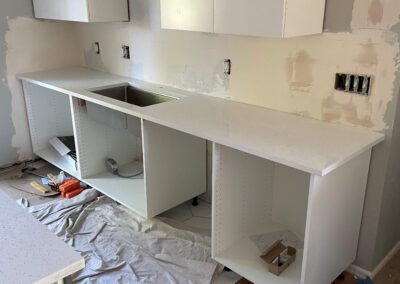
#DURING The white cabinetry, stainless steel under counter mount sink, and solid stone countertops (all provided by the homeowner) were installed in this modern kitchen remodel.
17.After- Peninsula from Living Room
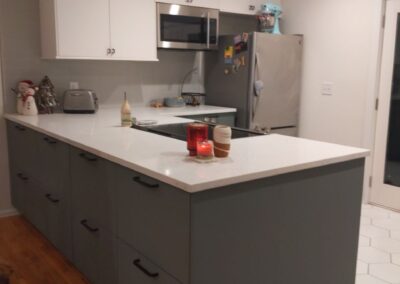
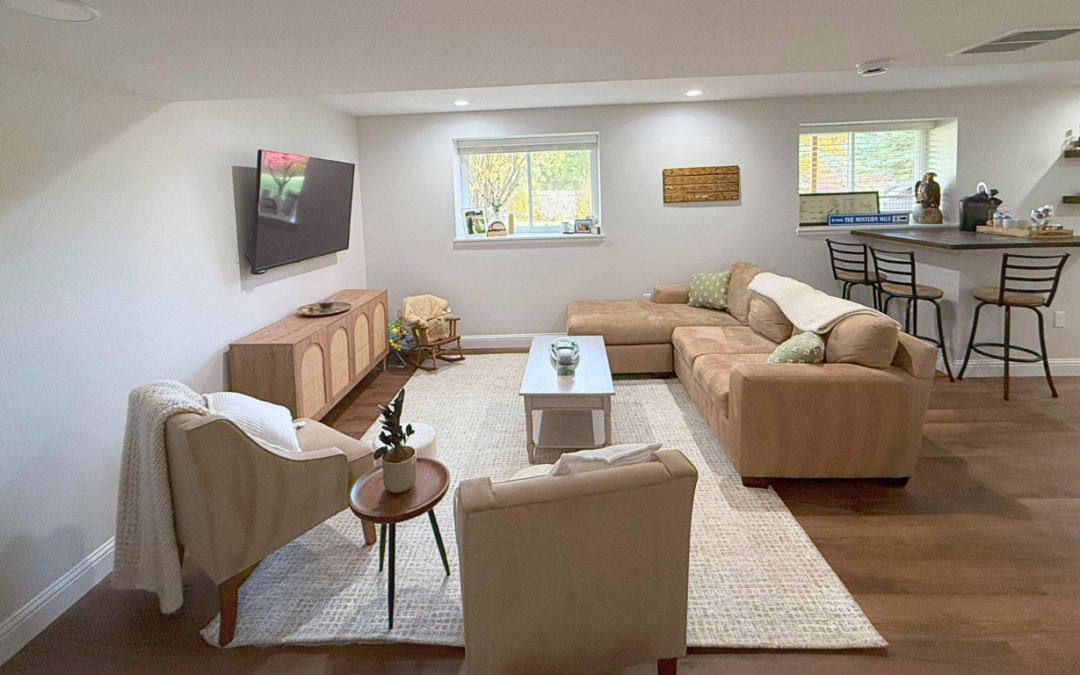
#AFTER The view of the remodeled, modern kitchen from the living room is stunning! The previous awkward corner cabinet and pony wall were replaced with a custom peninsula, opening up the space for a smoother flow.
18.After-Peninsula and new appliances
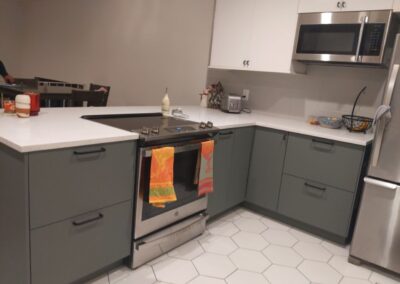
#AFTER Like night and day, the transformation of this outdated kitchen shines with the new custom peninsula, stone countertops, modern 2-tone cabinets, honeycomb tile floors, tile backsplash, and stainless steel appliances.
19.After-Undercabinet Sink and Open Shelving
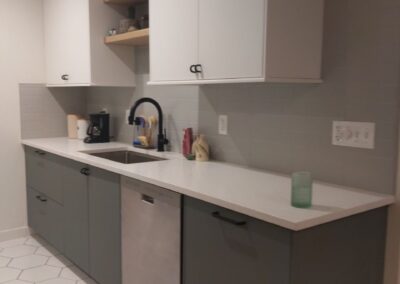
#AFTER What a more functional and fashionable space! We installed new plumbing & fixtures, cabinetry, backsplash, and floors. We also installed floating shelves above the new under counter mount kitchen sink and moved the existing dishwasher to the other side of it.
20.After- Open Shelf Detail
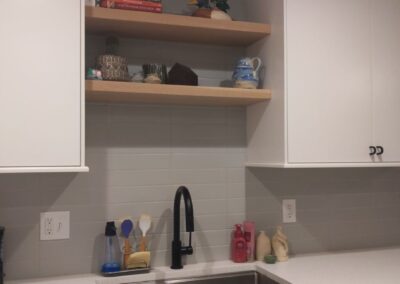
#AFTER The floating shelves above the under counter mount sink provide style and function in this beautifully renovated kitchen.
21.Before-Bathroom
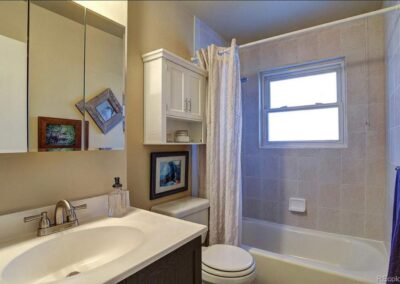
#BEFORE The original colors and fixtures made this bathroom feel really outdated, like the square stacked tiles and soap dish on the shower wall.
22.During-Bathroom Demo
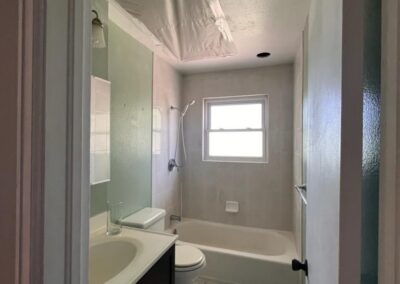
#DURING The homeowners had painted the walls green to make the bathroom feel more calm before they could start their big renovation project. The certified remediation company covered the hole they made for the new ceiling fan and vent so our team could safely install them without disturbing the asbestos-containing building materials in the ceiling.
23.During-bathroom demoed
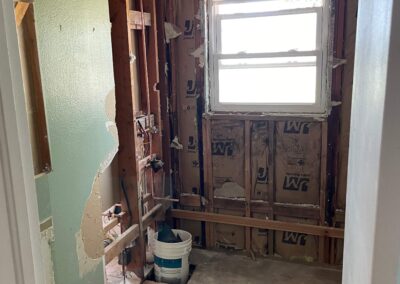
#DURING We removed the tub, toilet, vanity with sink, plumbing fixtures, tile walls and floor from the outdated bathroom. We repurposed plywood from an unnecessary double layer in the kitchen to repair this damaged section of the subfloor behind the toilet.
24.During- new bathroom plumbing
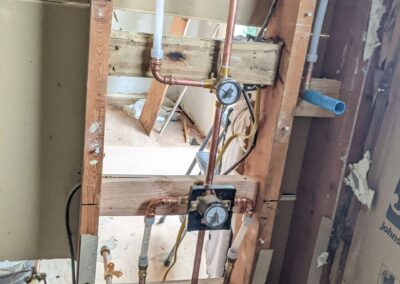
#DURING The master plumber replaced the pipes and valves for the shower, including a 3-point diverter valve for the tub filler, showerhead, and hand-held shower arm. (We also shared a picture of this shared wall from the kitchen side .)
25.During-New bathroom vent fan
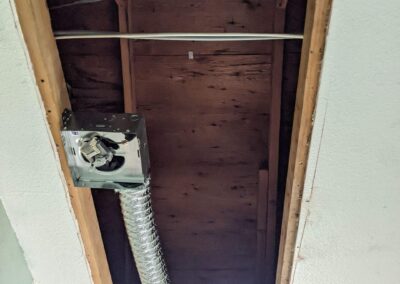
#DURING Because the ceiling tested positive for asbestos, we asked the certified remediation company to remove a whole sheet of drywall where the new exhaust fan and venting would go in the bathroom to allow us unfettered access. When there are no environmental contaminants in the building materials, we minimize the disruption by cutting a much smaller hole and enlarging it as needed to accommodate the new fan and vent.
26.During-Bathroom new floor and tub
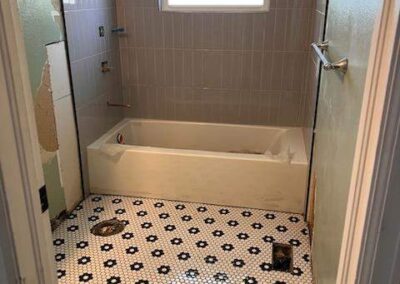
#DURING After the new plumbing and electrical work passed building inspections, we installed a new tub, stacked subway tiles on the walls, and classic mosaic tiles on the floor in this bathroom.
27.After-Bathroom Remodel
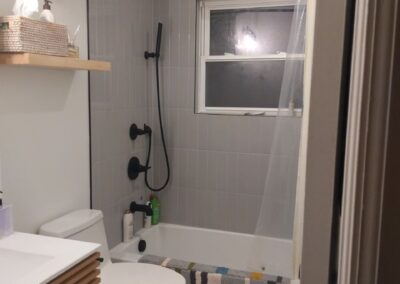
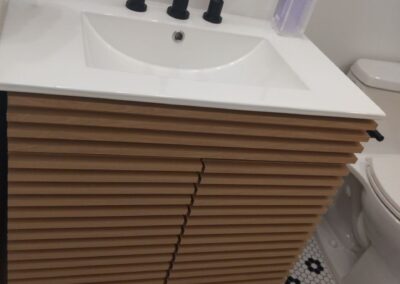
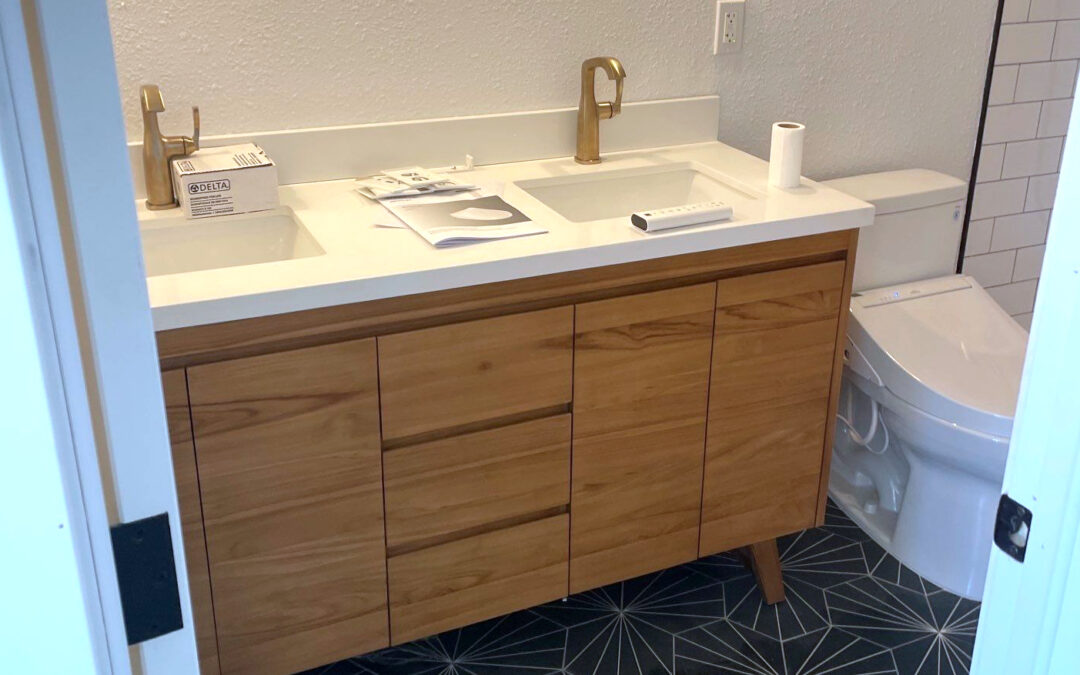
#AFTER This bathroom got a major glow-up with all of the modern finishing touches, from stacked subway tiles on the walls, mosaic floor tiles, and new matte black plumbing fixtures, to a modern vanity and floating shelves.
