Story #19
In the month between getting our offer accepted and closing on the purchase of our first home, we thought a lot about how we wanted to remodel it. We already shared stories about how moving the stairs and removing walls gave us new floor plan options on the main level and in the basement. There were also aspects of our plans that changed due to building code requirements, like adding insulation to the basement. The most stressful changes led to delays to our project timeline and/or increases to the project costs (like some in our next story). However, there were other changes to our renovation plans that required flexibility and patience, but weren’t especially stressful. If you expect your plans to change, you may be able to roll with the design changes without freaking out.
Project Notes
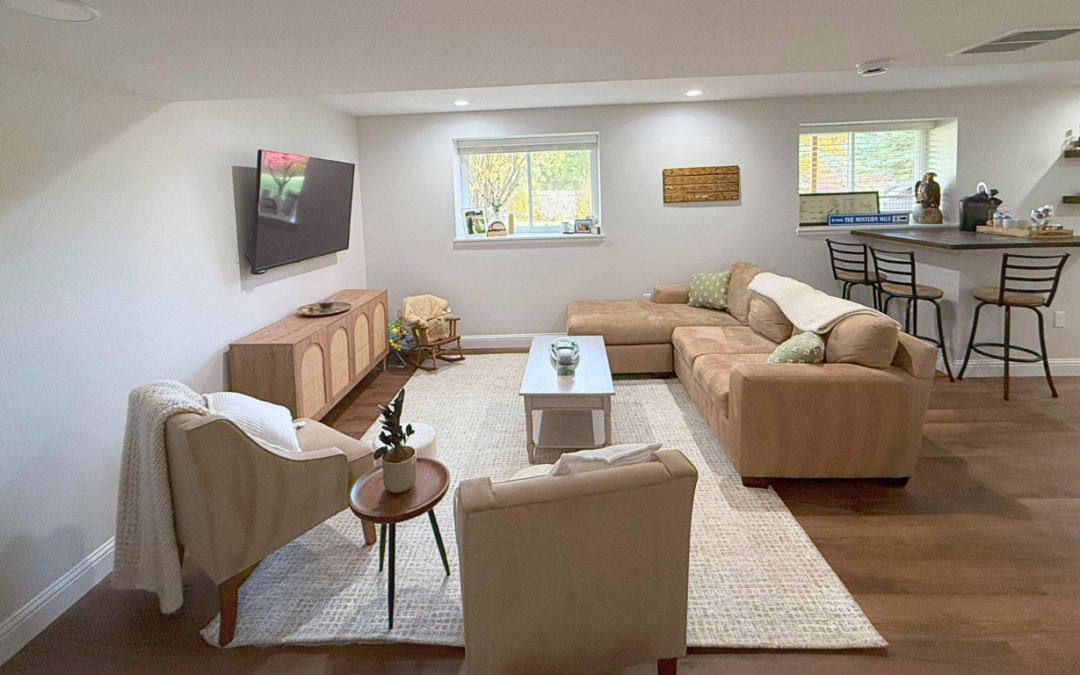
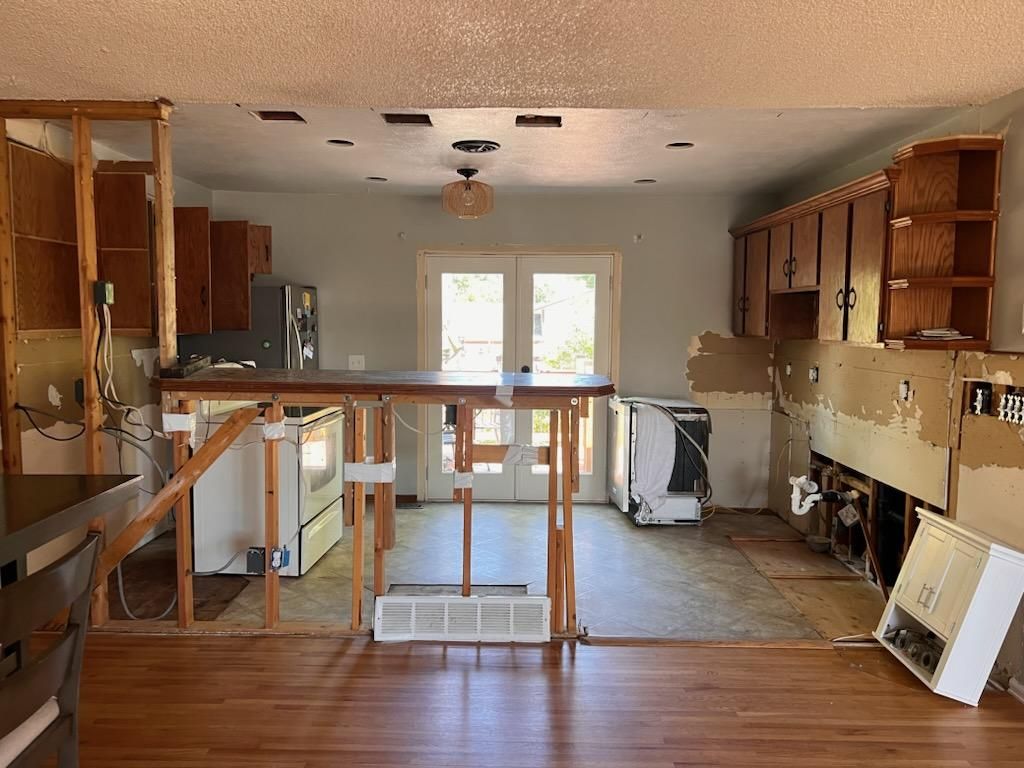
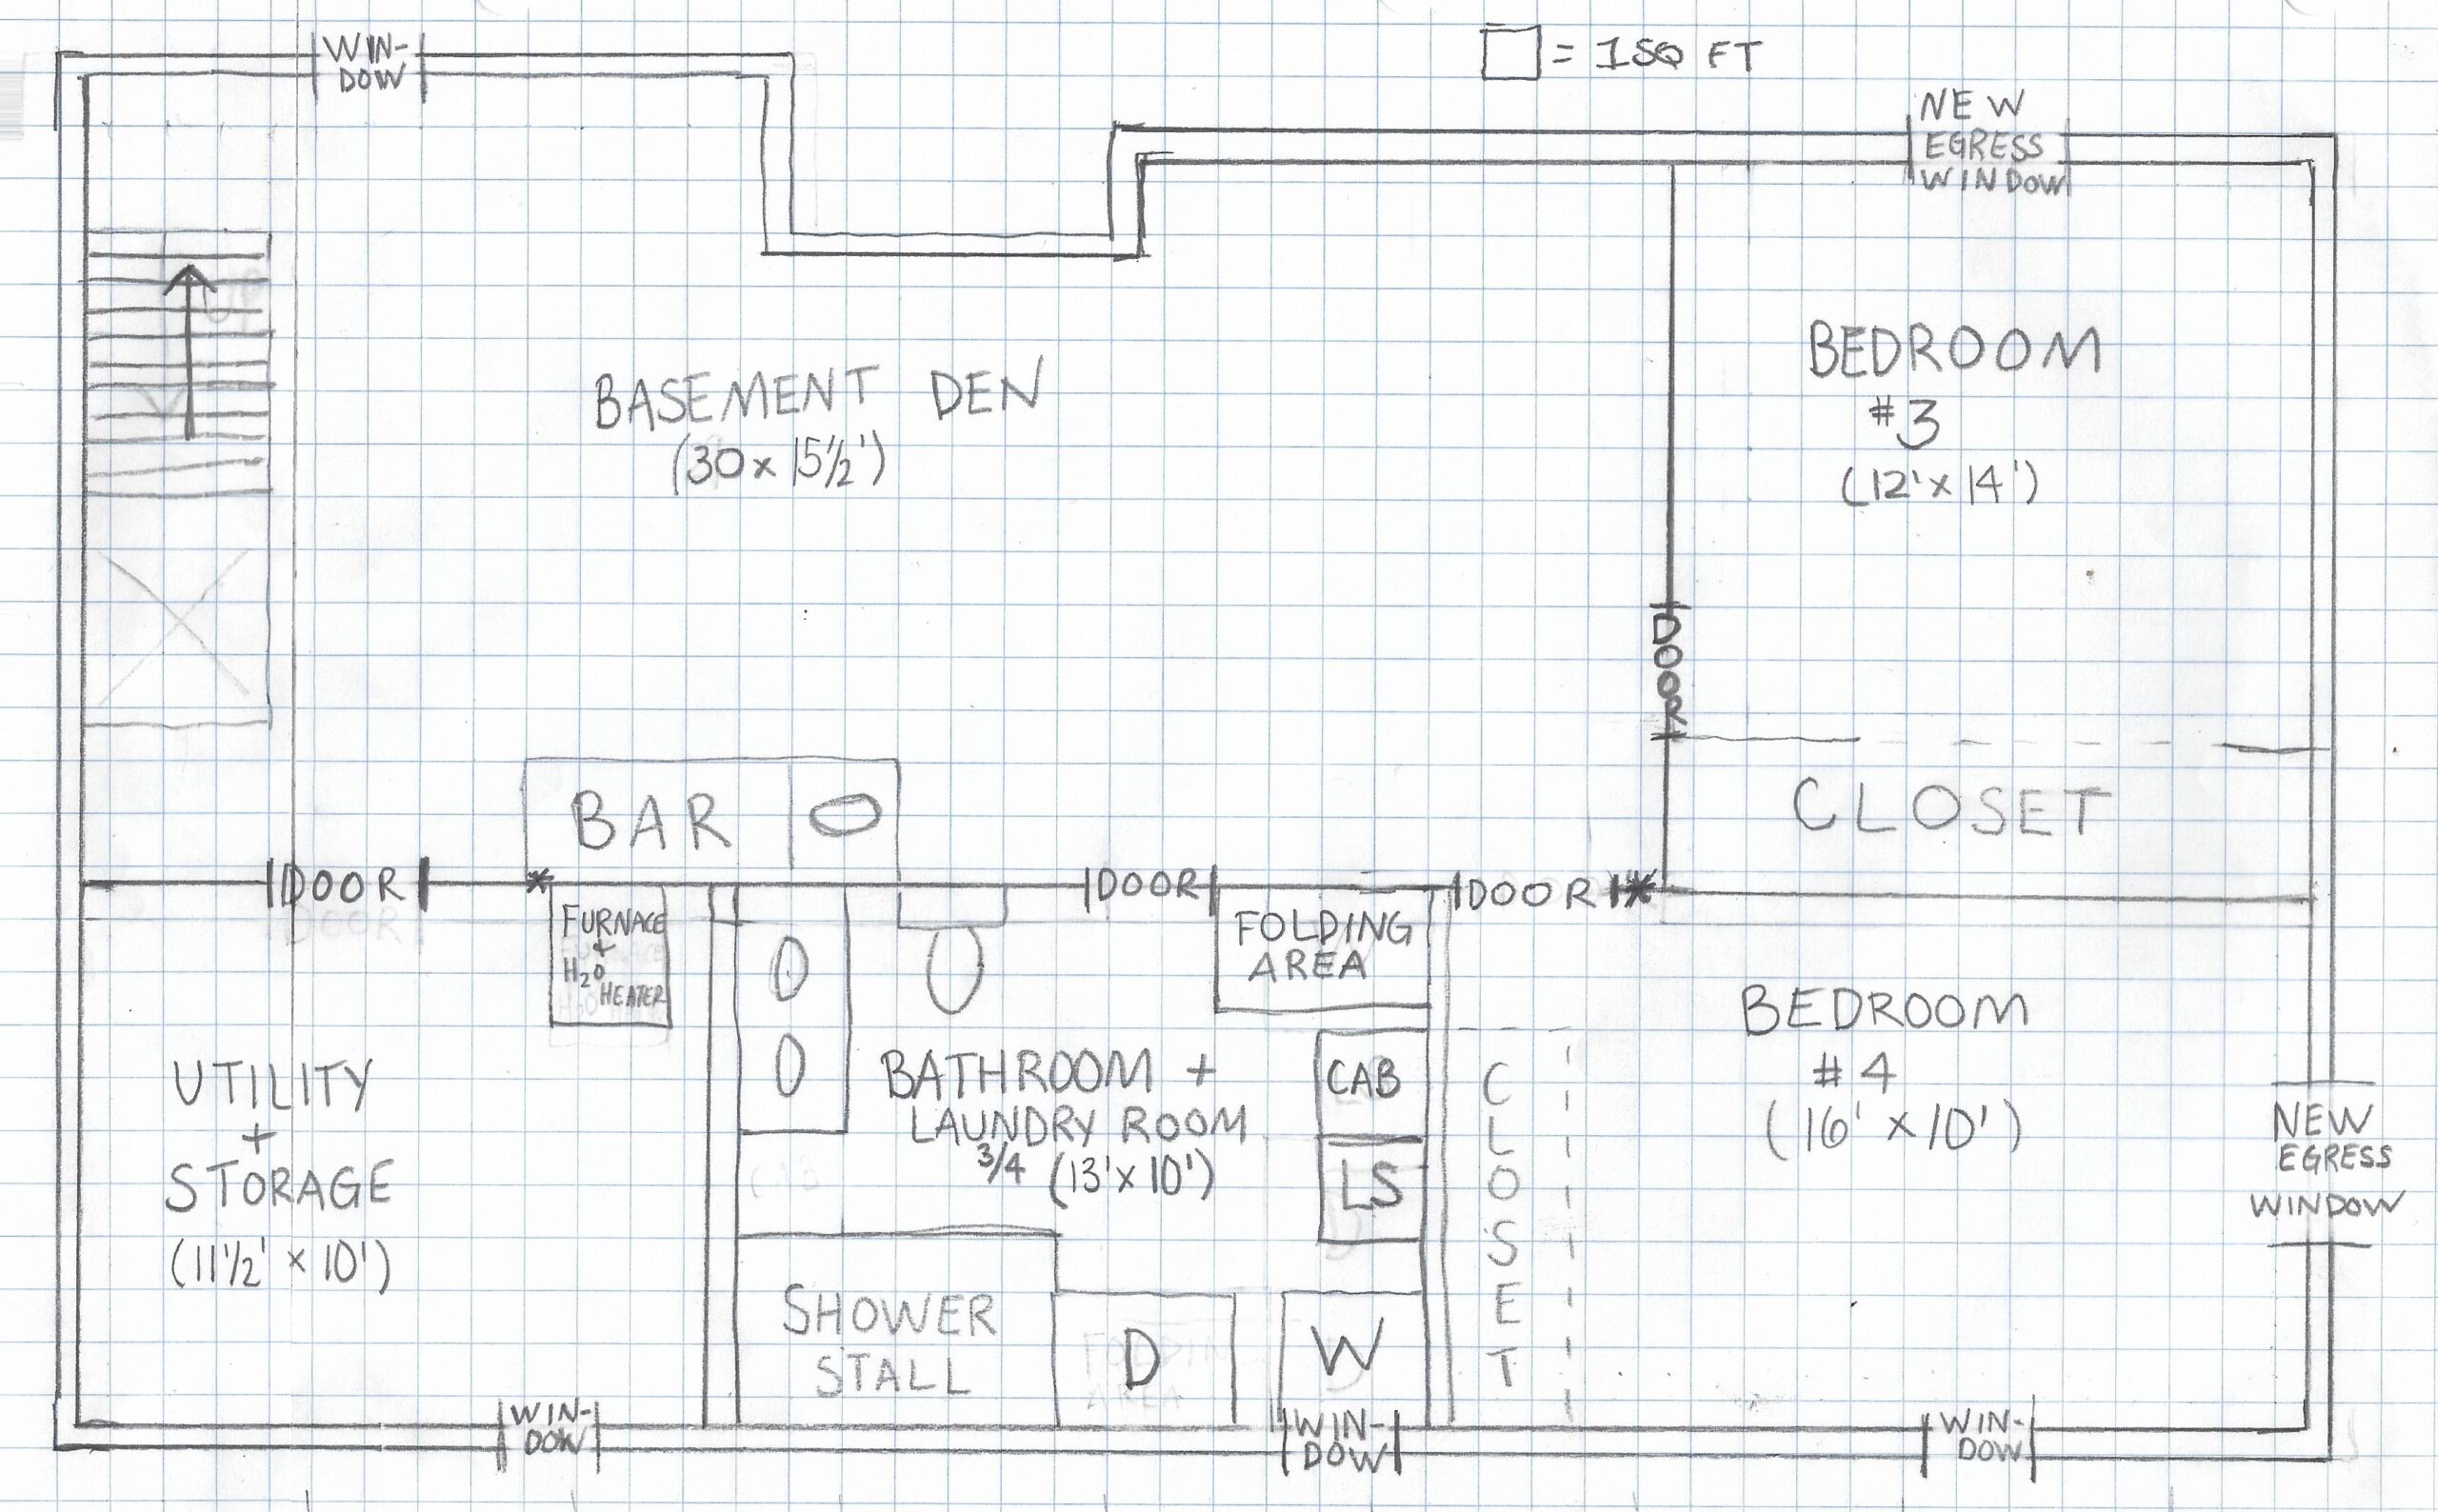
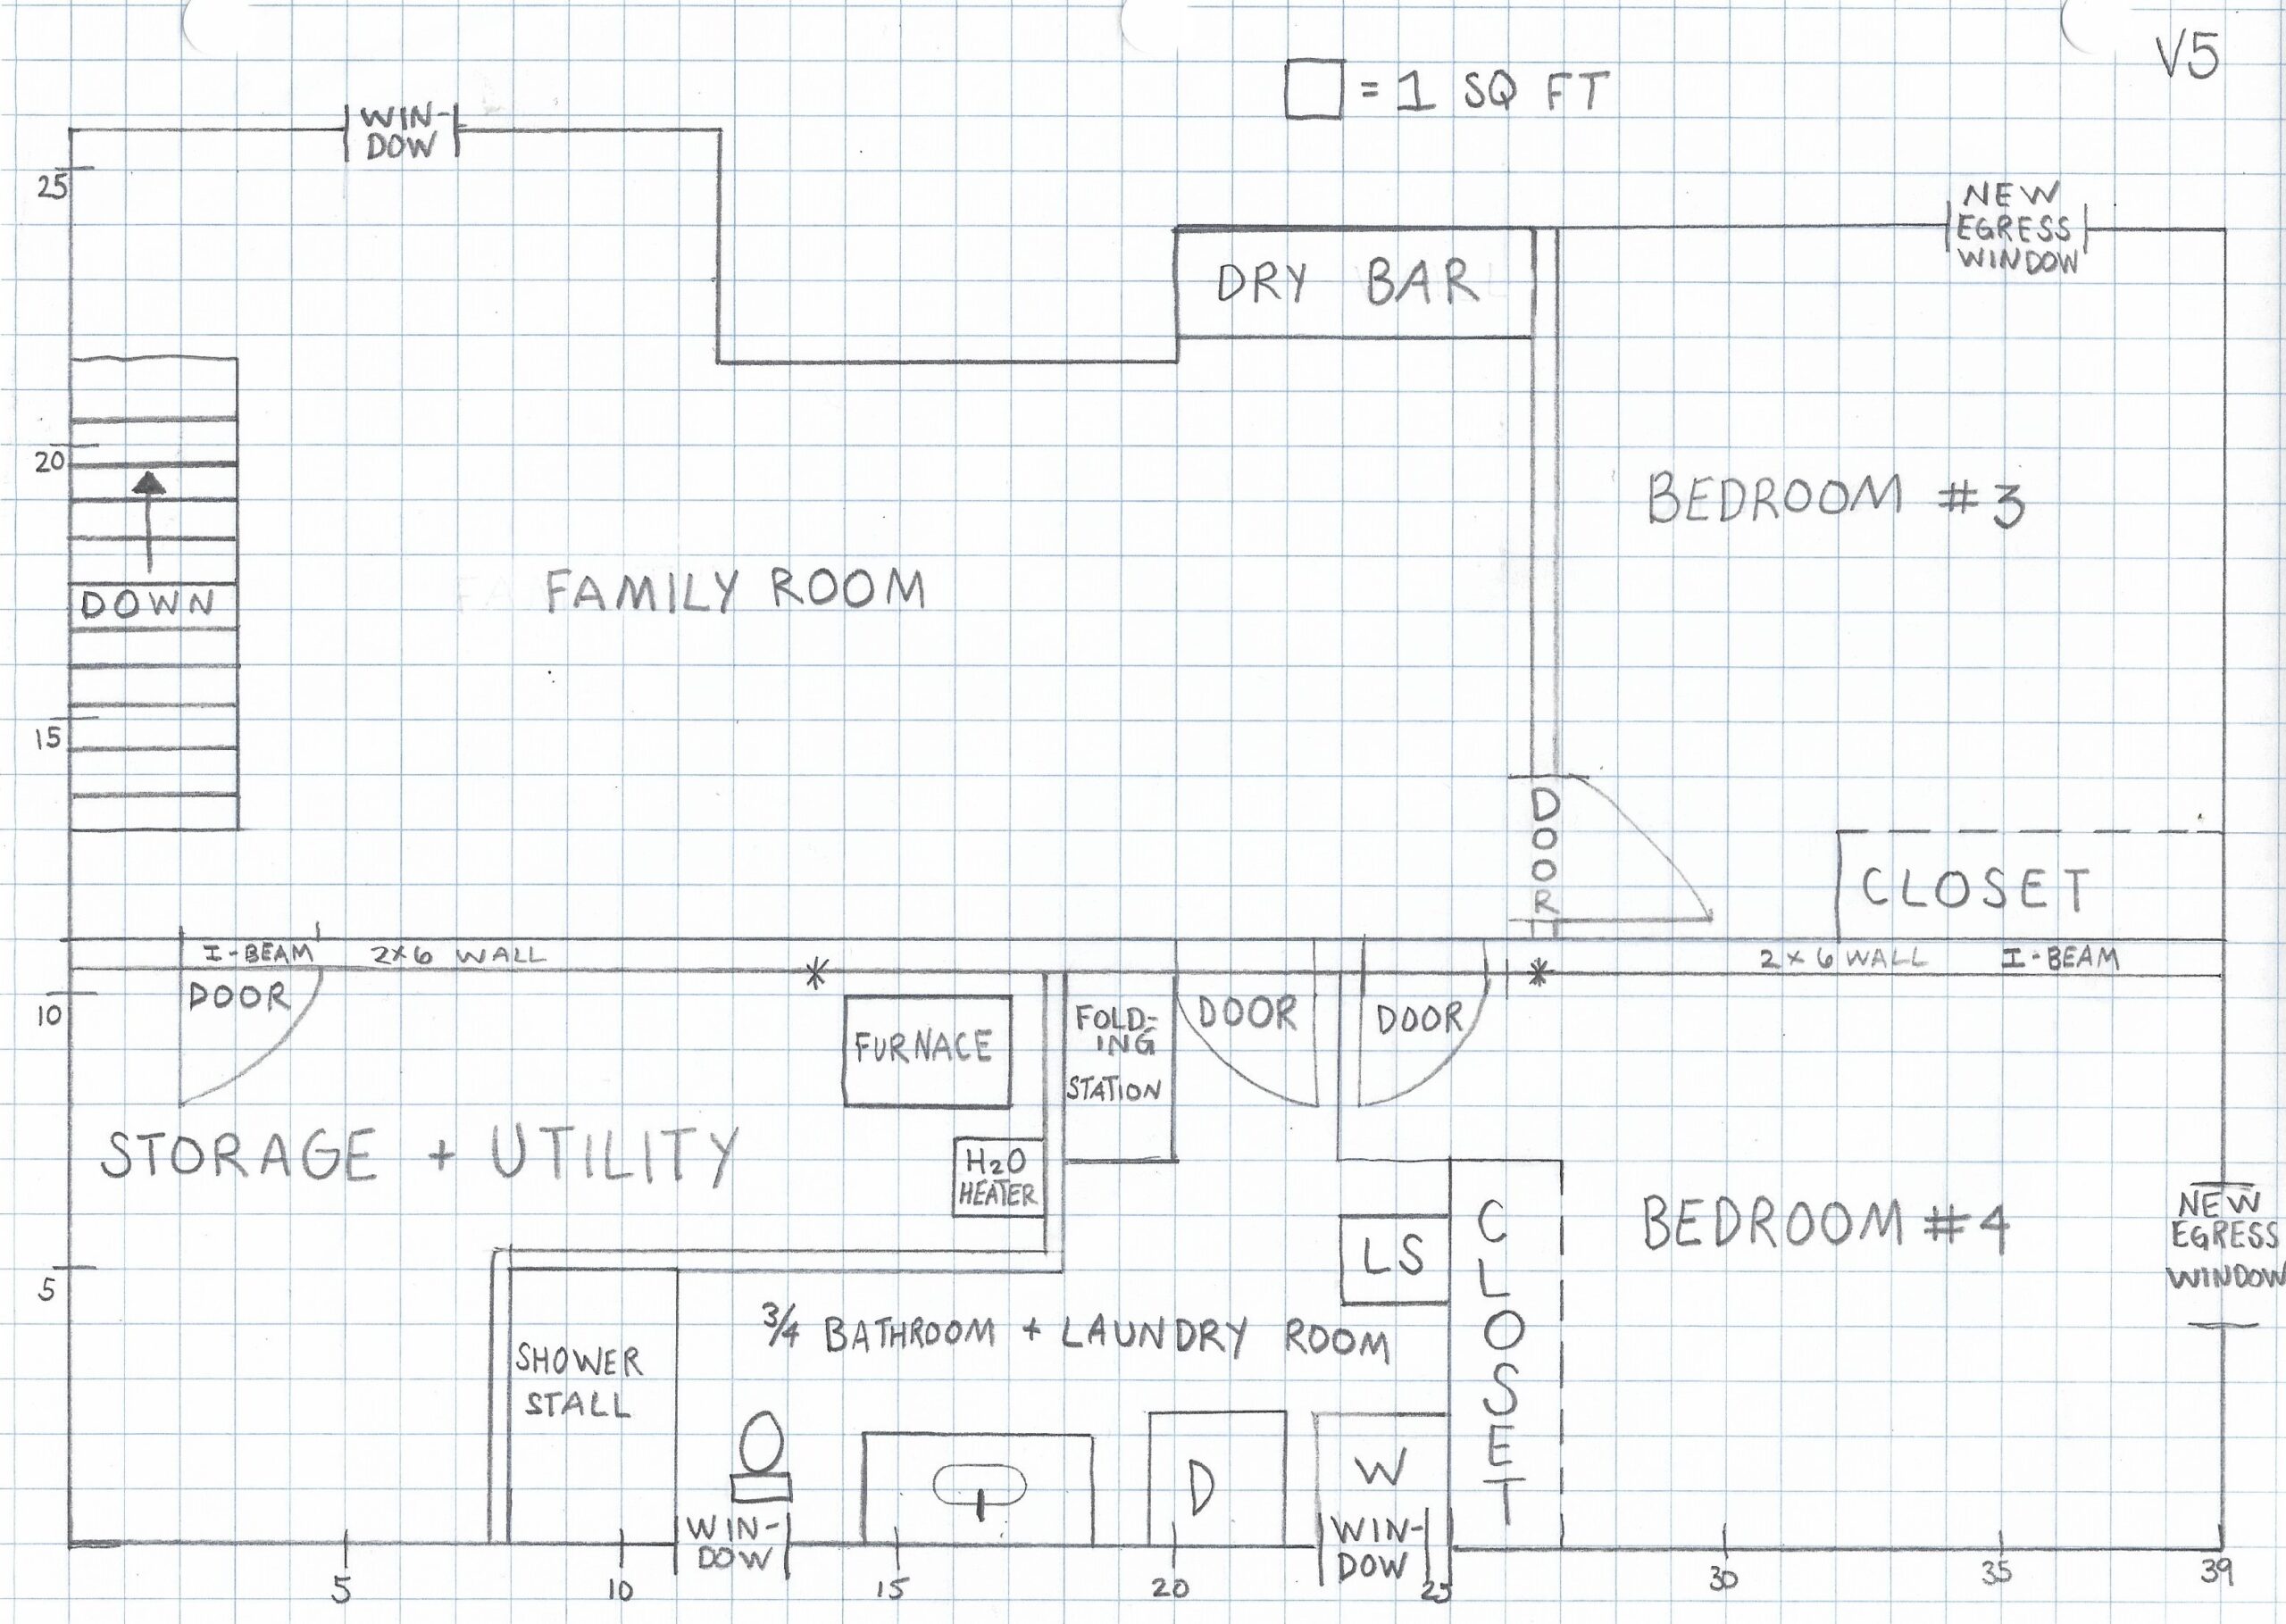
If you look at the first and (almost) final plans, you can see that we changed the layout of a few of the areas in the basement, including the sizes of several rooms. As we thought about where to move the washer and dryer into the ¾ bathroom, we went from a rectangular to L-shaped room. There’s plenty of space for the laundry functions, including a laundry chute and folding counter, and still room for a 4’ vanity, toilet, and 3’x5’ shower stall. Plus, we incorporated both windows on that side of the basement into the bathroom. The new bathroom layout took some space from the storage/utility room, but we don’t miss it yet. We also changed the dimensions of the basement bedrooms so they’re about the same size. In addition, we originally wanted a wet bar next to the utility room, but couldn’t justify the cost of the sink and plumbing. This change in plans freed us up to realize that the better spot for the bar was in the nook between the wall with the TV and a bedroom.
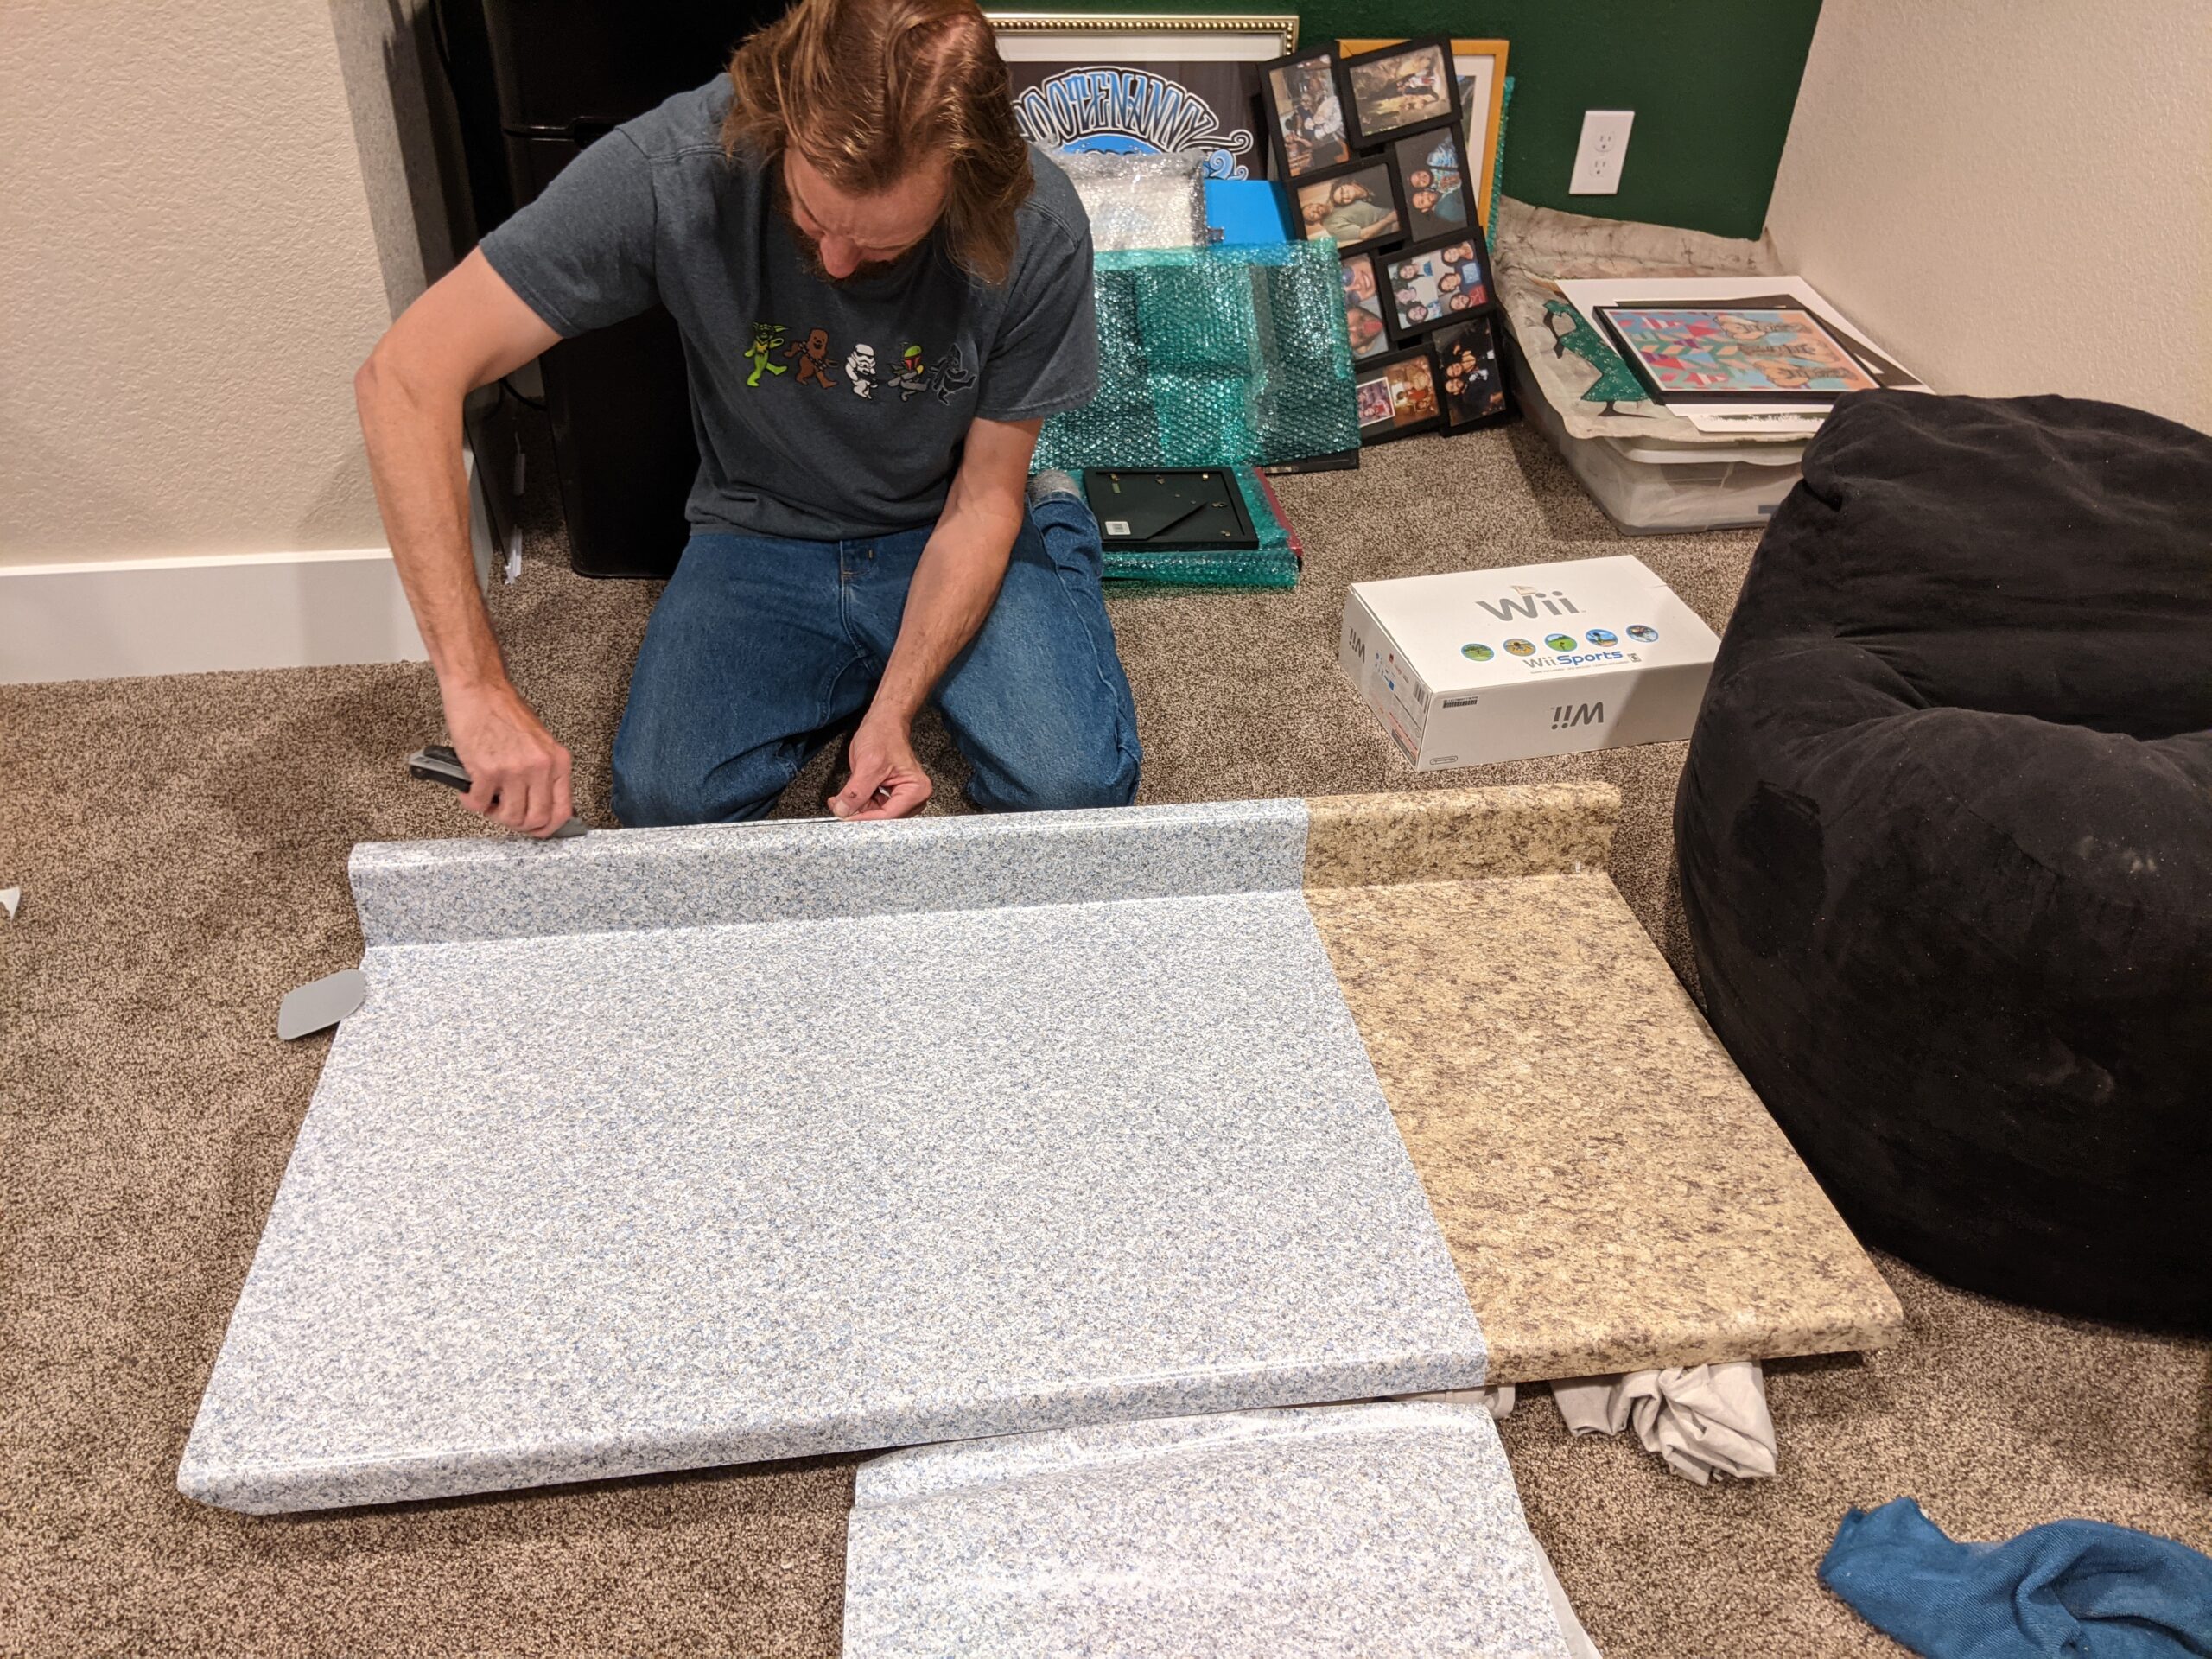
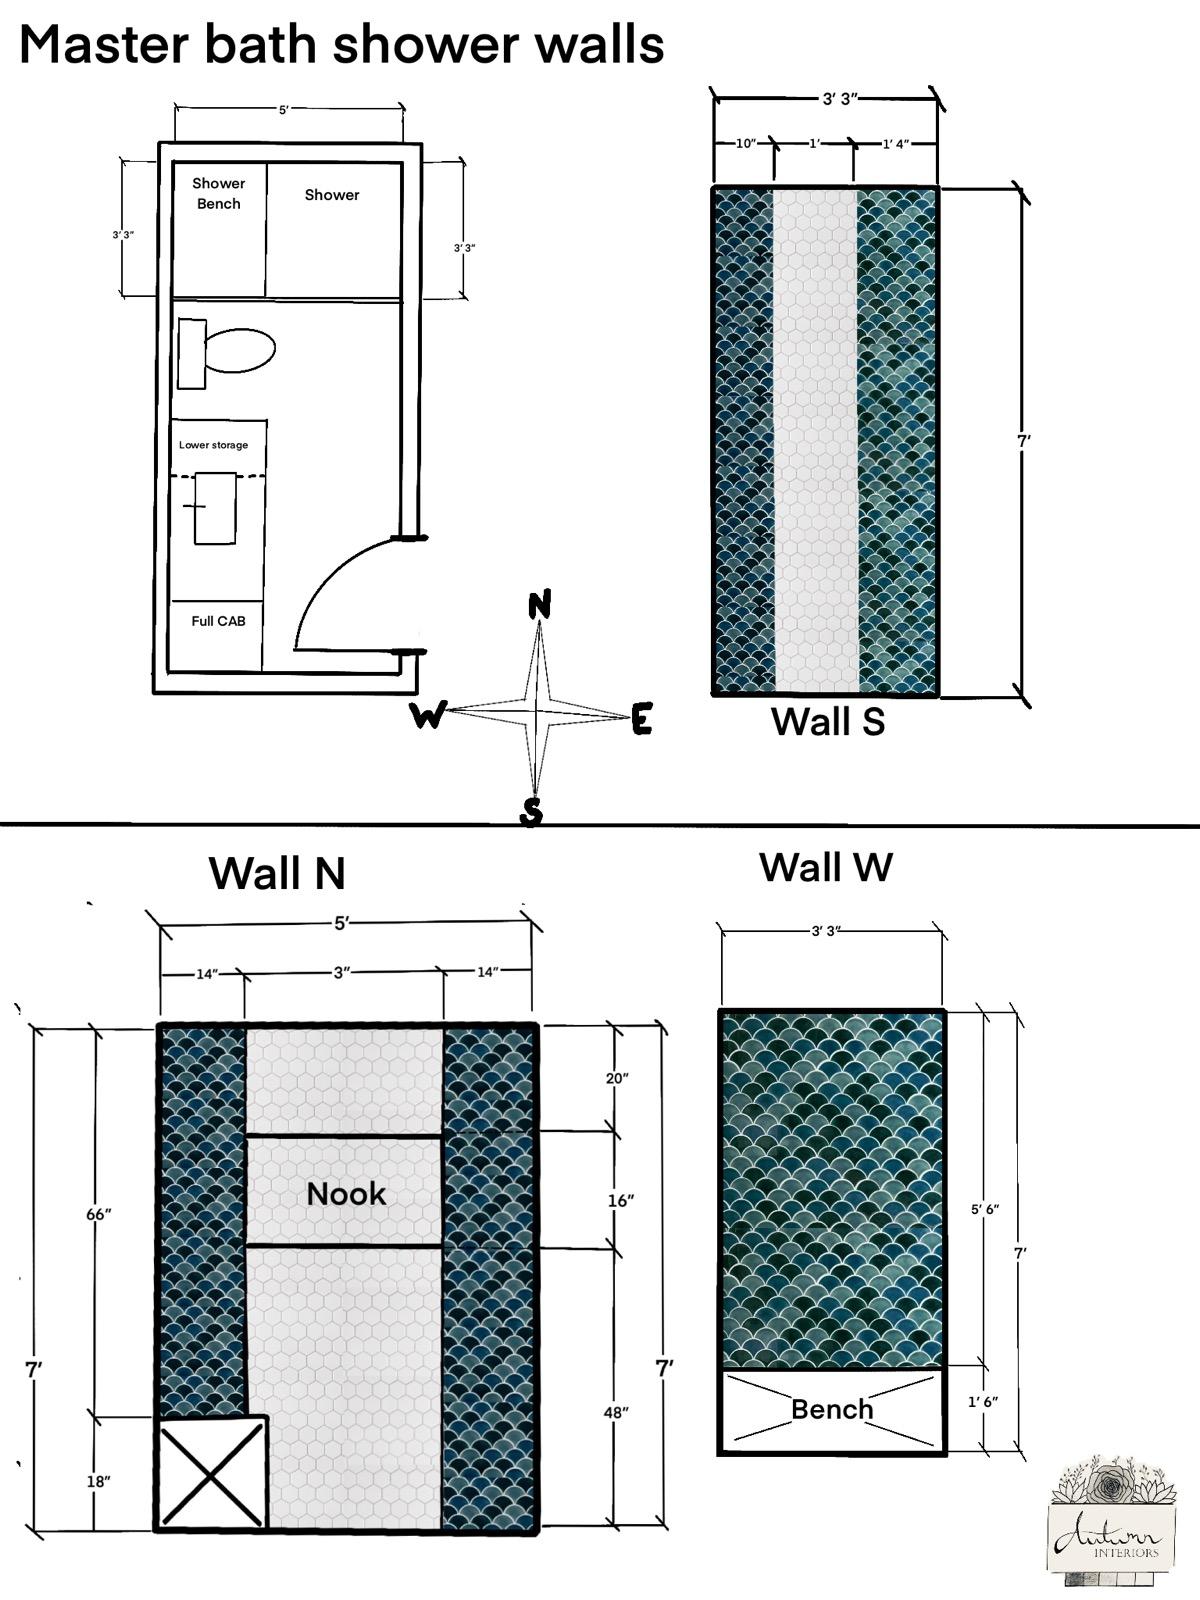
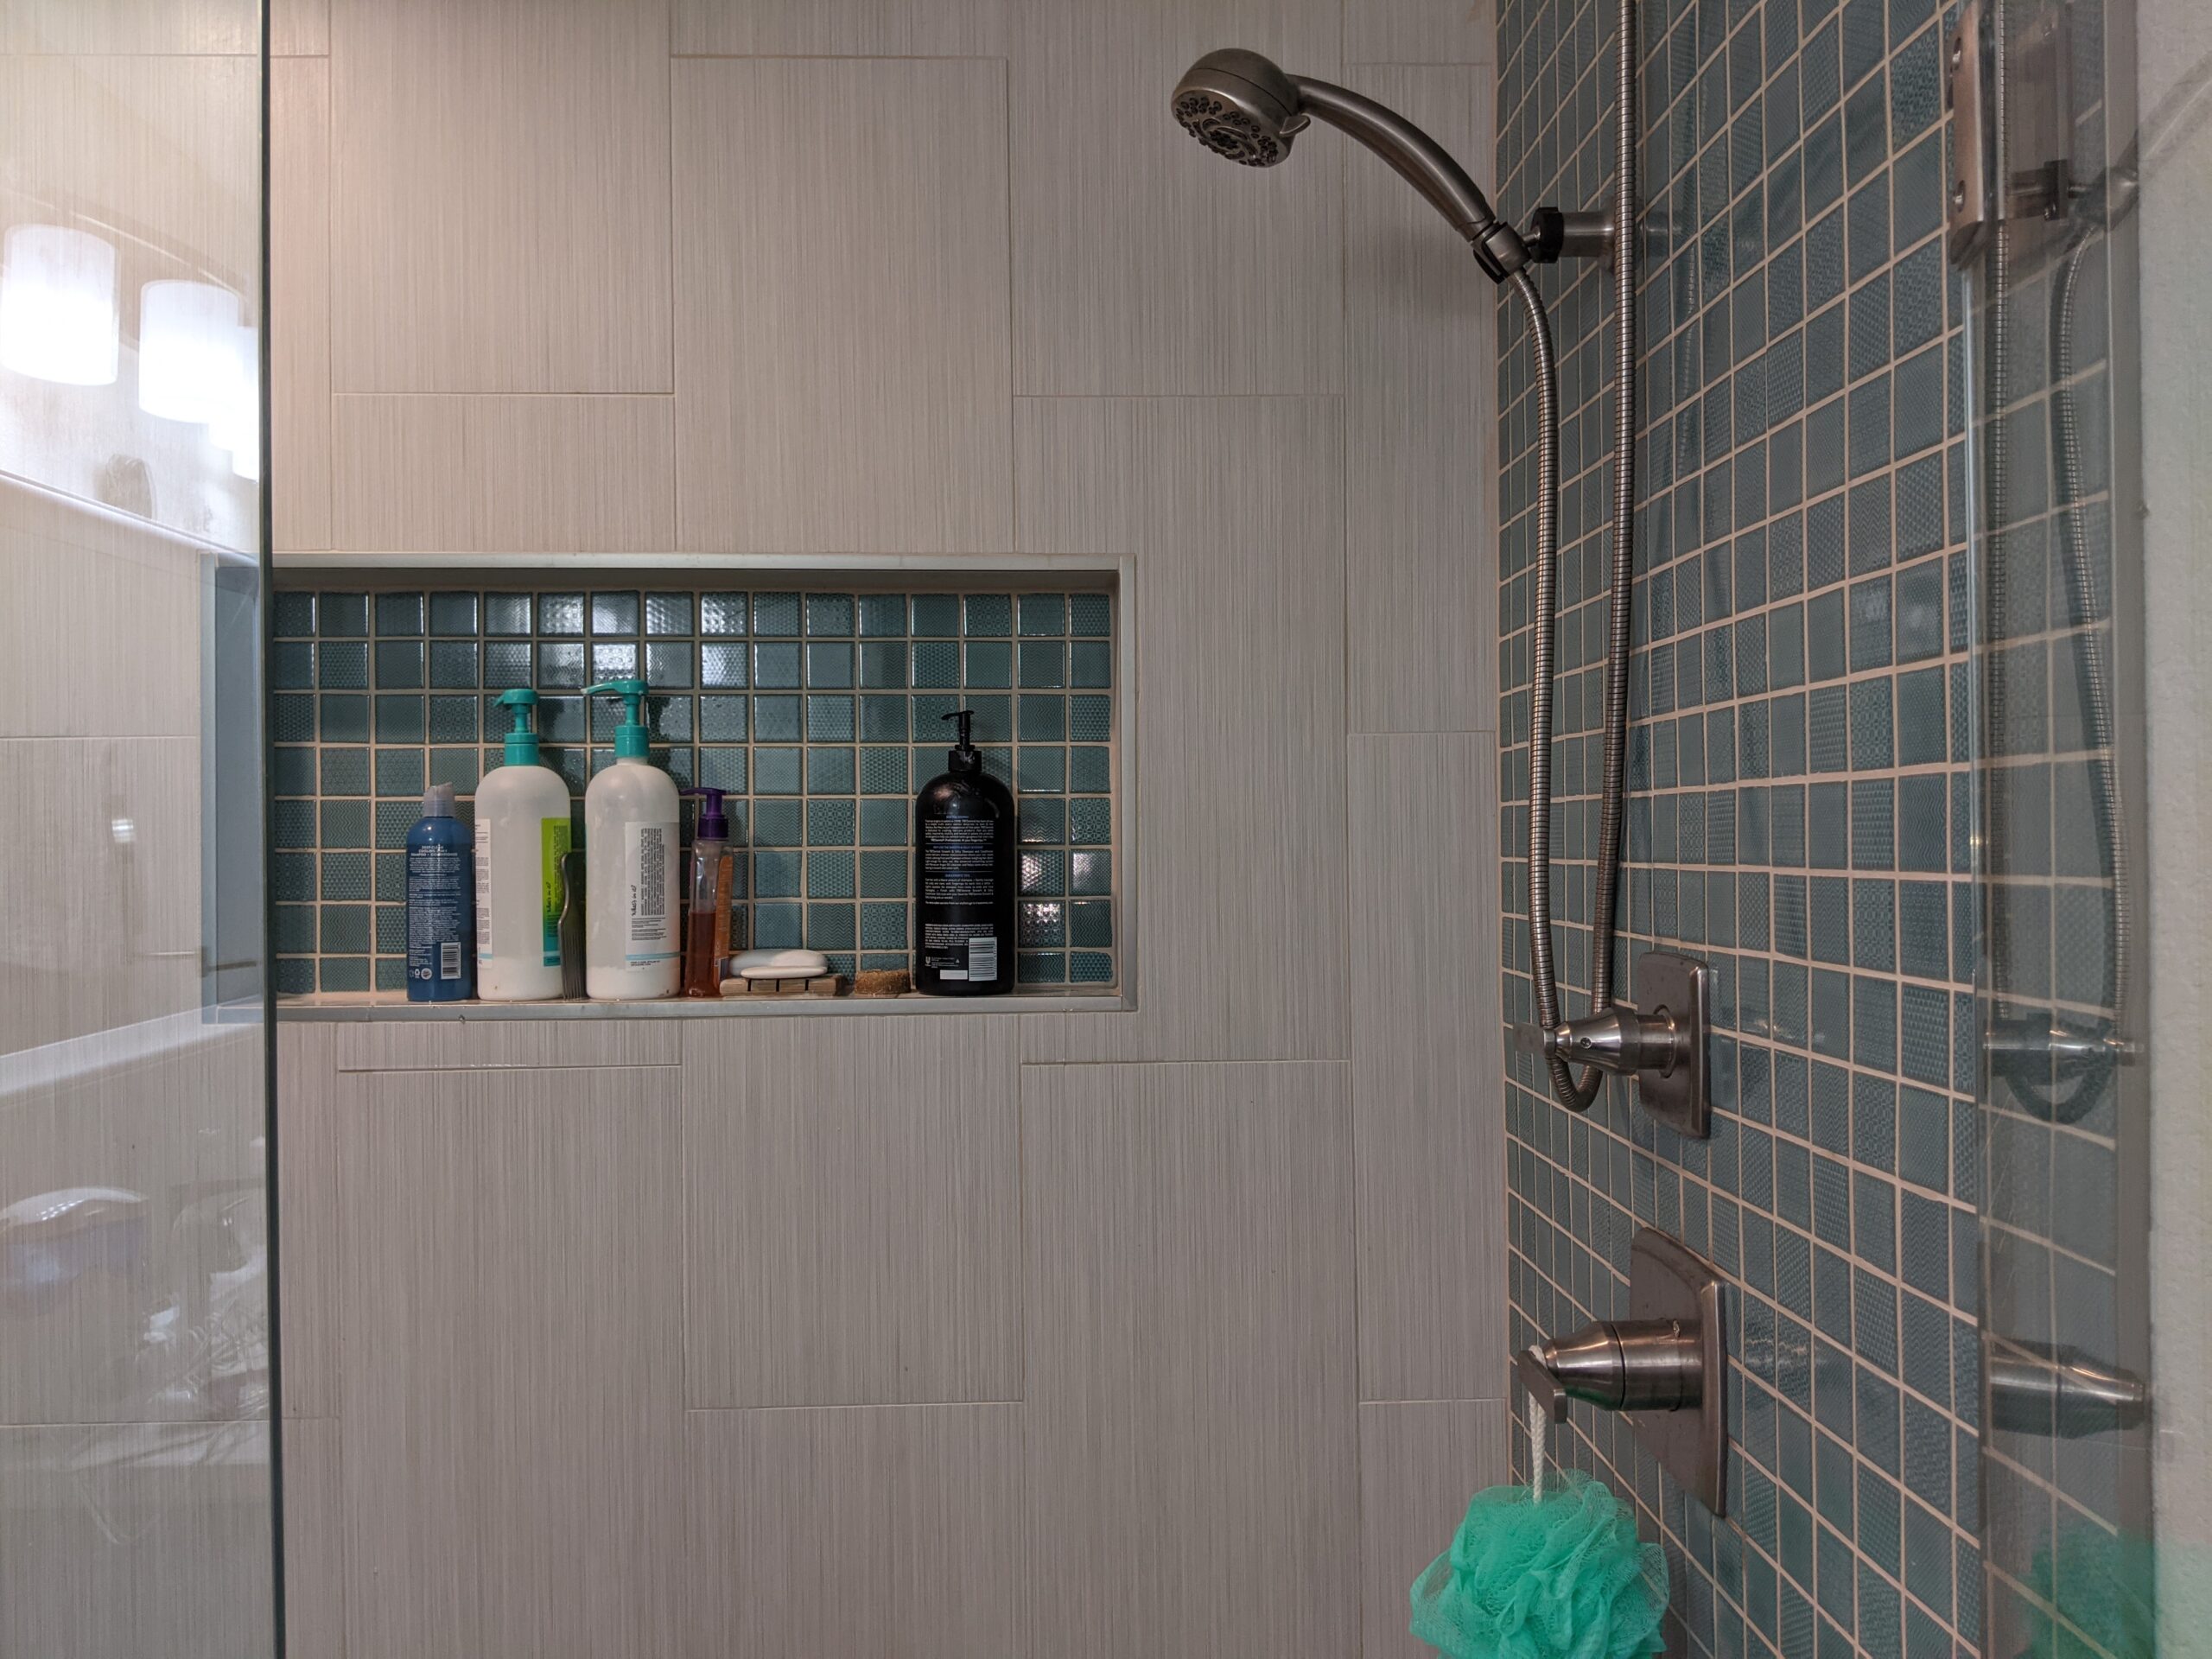
Picking out the finish materials is one of the most fun parts of a home improvement project. Costs and availability of materials will influence some of these choices. We also made some decorative changes because of how the items will function after talking with the installation specialists. Another contractor gave us this excellent tip about tiles: most glass tiles get their colors from a film on the back of the tile that can pull away when tiles are cut, so you don’t end up with a straight line on the edge. I learned this after I’d already picked beautiful blue tiles for our master shower, but hadn’t bought them yet. The next tiles that I picked were ceramic but they were out of stock when I was ready to buy them. Finally, I found a patterned, green, ceramic tile that is very pretty. This change to my original design was probably for the better, too, because the square tiles are easier to cut in straight lines than the fish-scale shape of the blue ones. The tile layout in that shower also changed. I picked large, lighter tiles to contrast with the (blue, then) green in stripes on 2 walls, but the installer said it would be hard to get an even finish because the 2 tiles weren’t the same thickness. Instead, only the long wall in the shower has both tiles, with the light tiles on the wall and the green ones inside the nook.
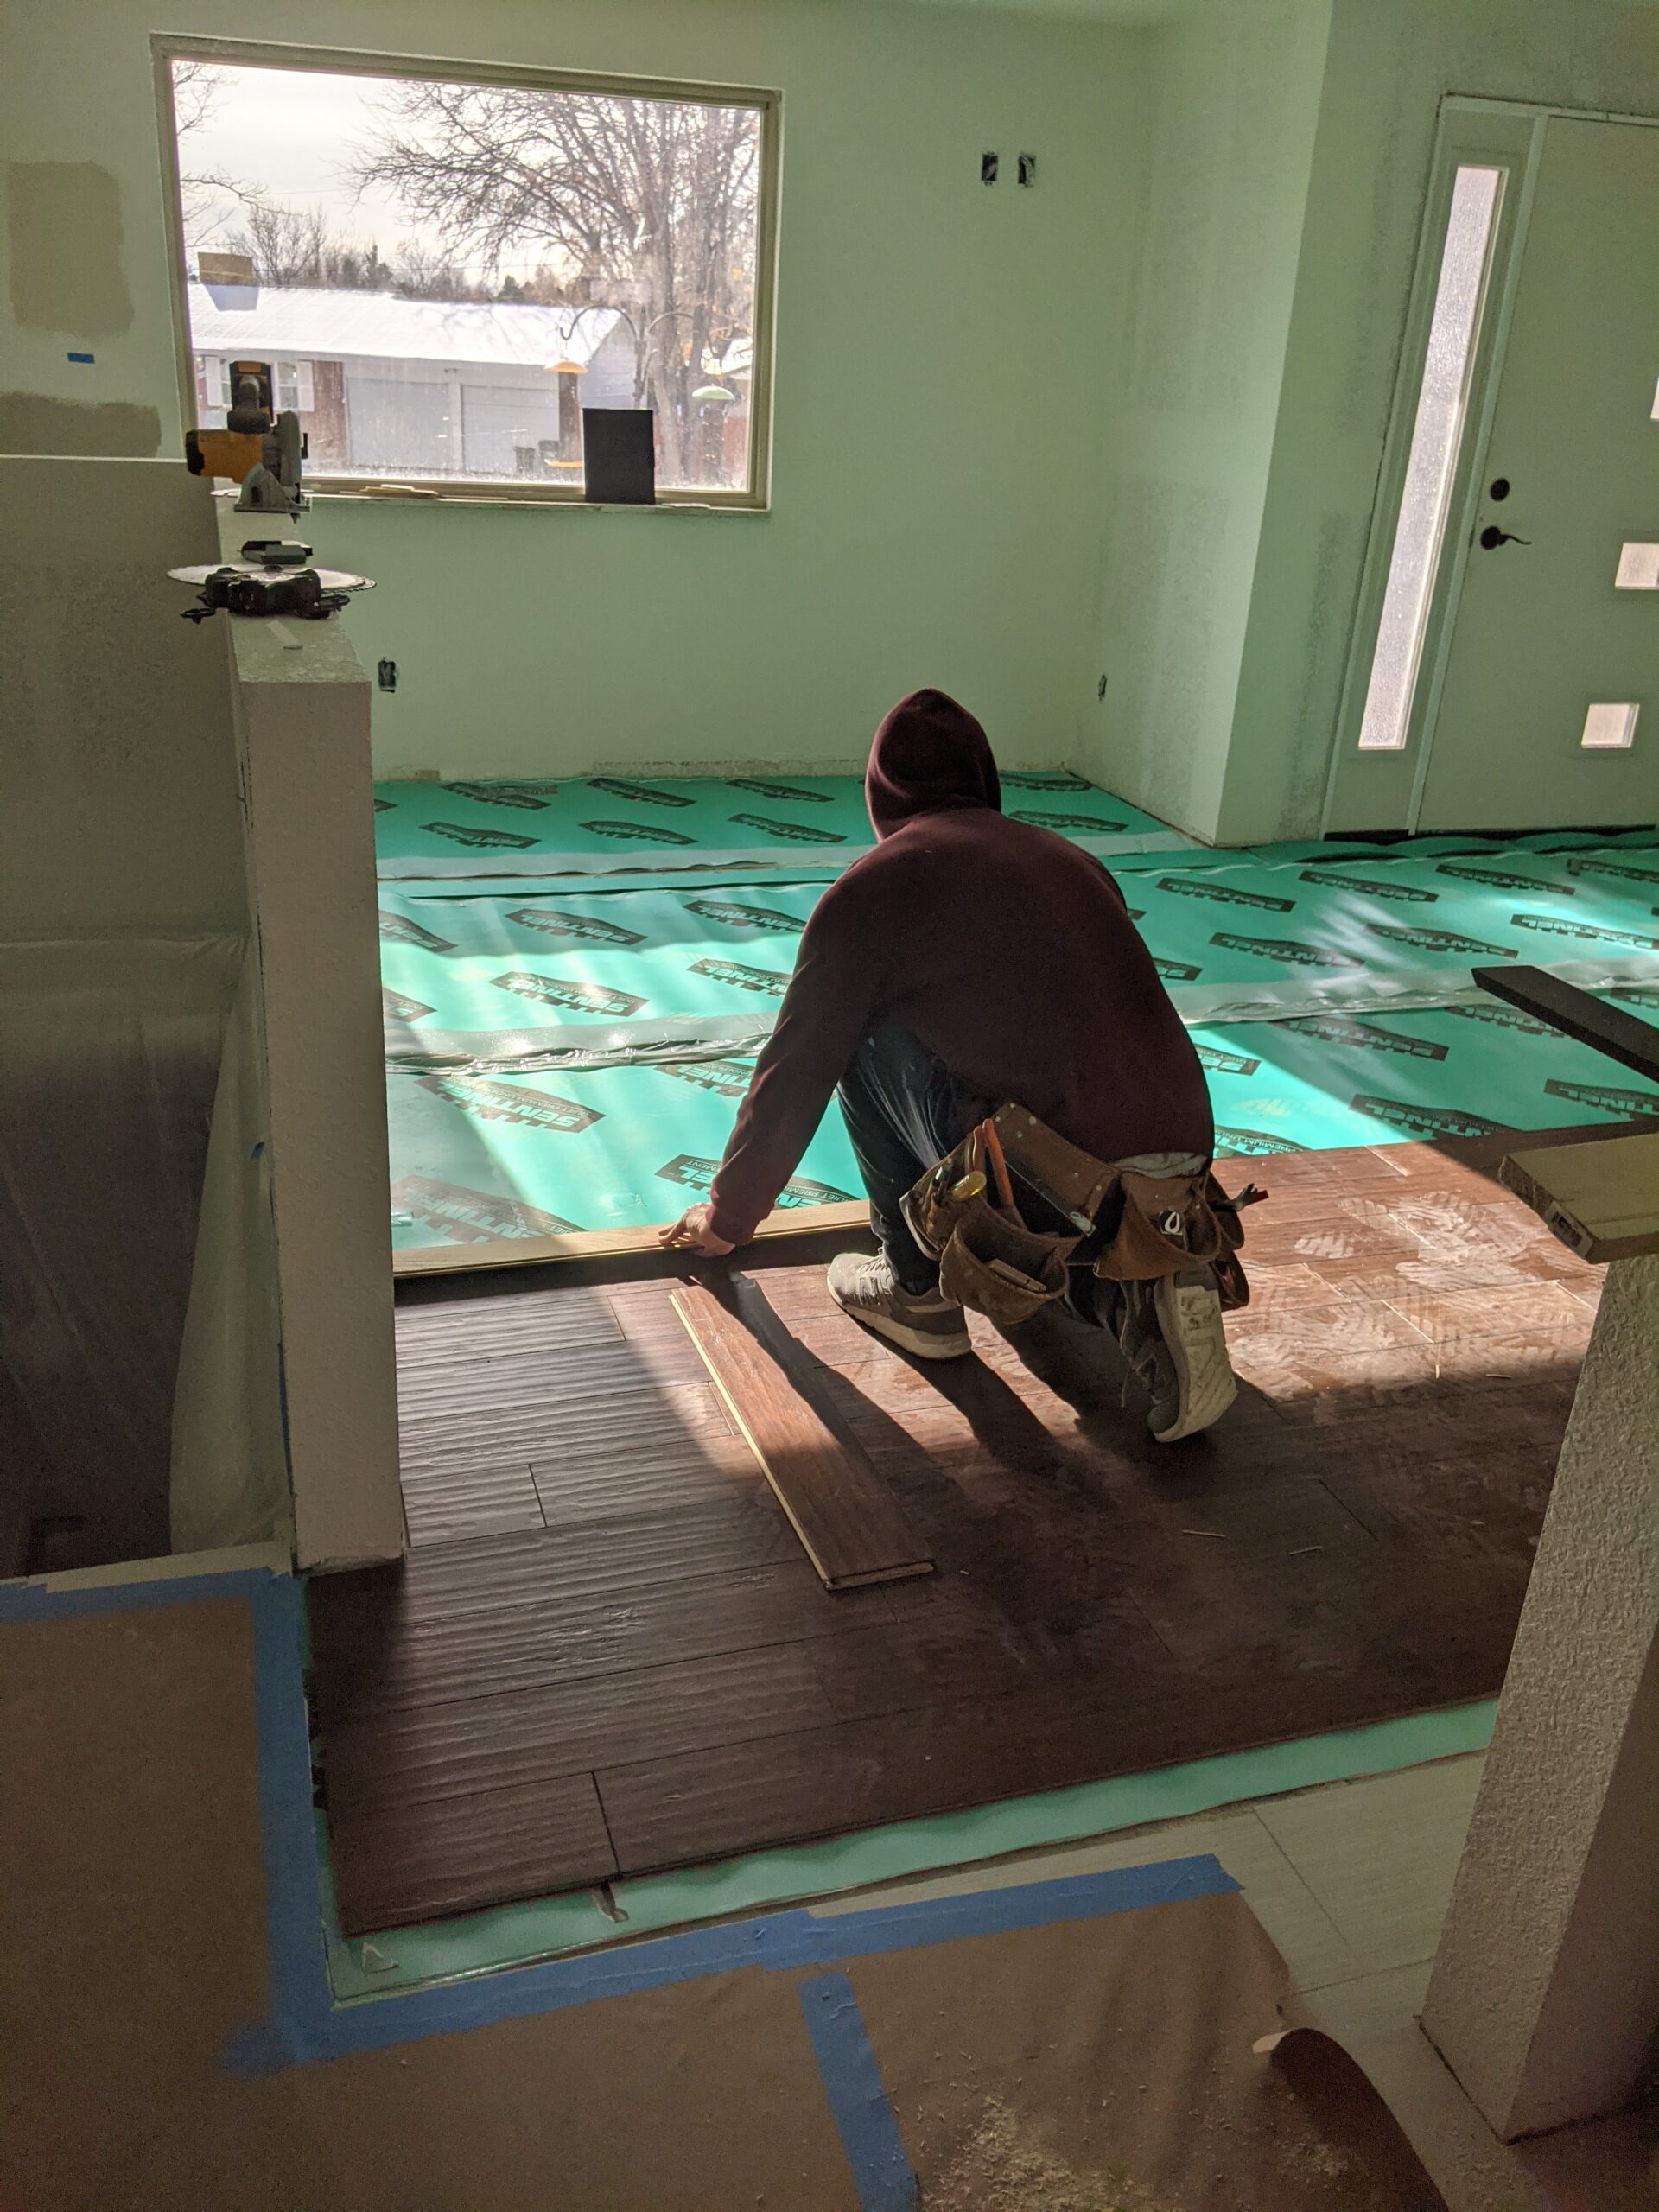
The third design change we made was the wood floor product. We were drawn to bamboo products because of their sustainability, but floor installers gave us 2 good reasons to switch to a different engineered hardwood. First, bamboo does not perform well in Colorado’s very dry climate. Second, bamboo floor manufacturers change the plank width and other product details every 3-5 years, so we likely won’t be able to find replacement pieces if we have to do repairs in a few years and, instead, will have to replace the entire floor.
Finally, there were a few gas appliances we wanted to add to the existing natural gas line. After the plumber calculated the amount needed for the new stove and tankless water heater, there was not enough space in the line to also add a gas line to the backyard for a BBQ (unless we wanted to increase the size of the gas line at the meter). We weren’t upset about sacrificing this luxury item, because it was really for future owners. We added a dedicated outdoor outlet for our pellet smoker grill and there’s still plenty of room for our charcoal BBQ, too.
Things That We Learned
- Know what you absolutely must have so you can be flexible about everything else. We wanted space for a kitchen table, which dictated where the stairs went and many other layout and design choices after that.
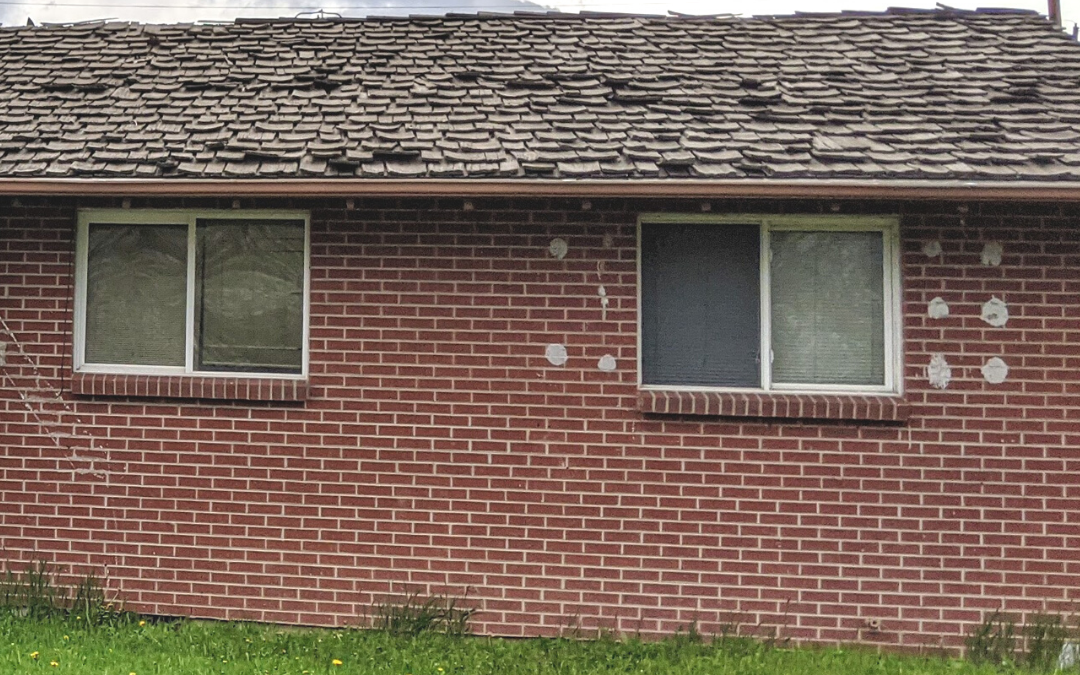
- Be sure you and/or your general contractor are familiar with the building code requirements in your local jurisdiction so you include those must-haves into your plans, too. We didn’t check the rules about windows in showers and had to add a shatterproof film in the main floor bathroom during our final inspections.
- Listen to your contractors’ suggestions on materials, especially which materials and installation methods they are most comfortable with to get the best possible finish. The painting crew had great ideas about which colors to use in special spots, like the master closet doorway and soffit in the basement, that made for the sharpest finish.
- Don’t plan on best case scenarios for timelines or budgets, especially during the coronavirus global health pandemic. Instead, count on there being delays and additional costs. Include contingencies for both in your plans to be able to handle them more smoothly when they occur. We continued our rental agreement for a month longer than we thought our project would take–and then needed that extra time when the drywall took longer than promised.