About These Projects
Floors get stained and damaged, especially in high traffic areas and homes with kids & pets. Tile shapes, materials, and sizes continue to change, so it’s easy to spot an outdated look. Replace your plank flooring and tile to refresh your home. This quick renovation is a less expensive way to update your home than a complete remodel.
Photo Gallery
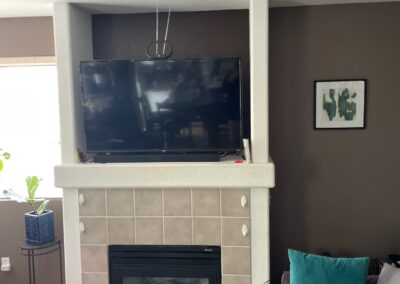
BEFORE- SchomFireplace
BEFORE: The original fireplace had a dated built-in TV niche and heavy tile surround that didn’t reflect the homeowners’ modern style.
DURING- SchomFireplace Demo
Stripping it back—demo day revealed what was beneath and made room for a brand-new modern layout.
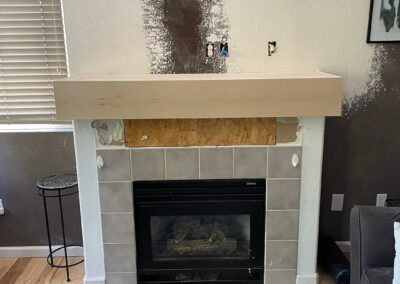
DURING- SchomFireplace Frame
With the new custom mantel installed, we framed in a fresh layout to better suit the space and prep for tile.
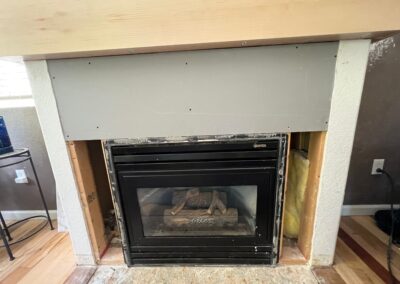
DURING- SchomFireplace Frame 2
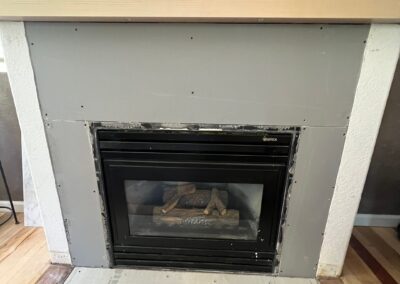
Cement board prepped and ready—laying the foundation for durable, heat-resistant tilework.
DURING- SchomFireplace Beveled
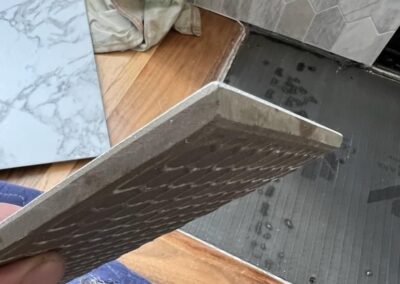
Pro move! Ondrej cut the floor tile at a perfect angle for a closer fit to the beveled hardwood flooring transition piece.
DURING- SchomFireplace Tiles
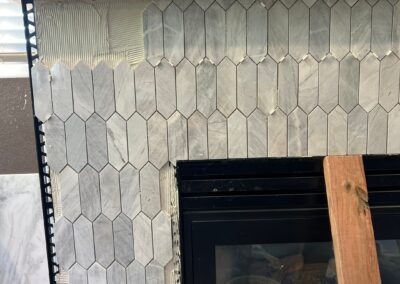
The picket marble tile going up! Each piece was set with care to create a clean and modern design moment.
DURING- SchomFireplace Tilework
So close! The marble tile and custom wooden mantle are installed, and the new layout already feels like a total refresh. Just a few finishing touches to go!
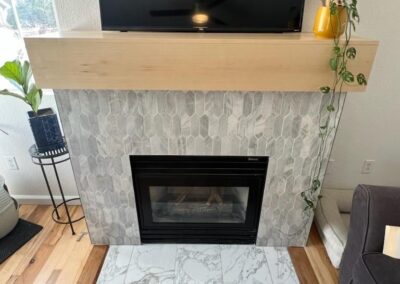
AFTER- SchomFireplace
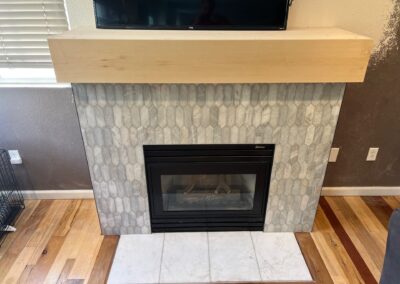
A stunning transformation—this fireplace now features white and gray marble picket tiles, a custom wooden mantel, and perfectly fit coordinated floor tiles.
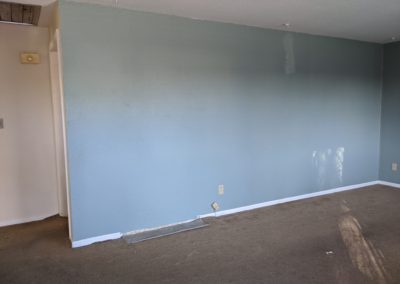
1.RemoveWall
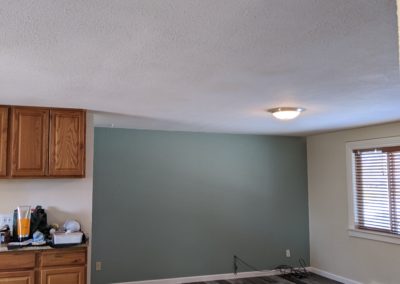
#BEFORE The owner wanted to remove most of this wall and the stained, worn carpet in the living room.
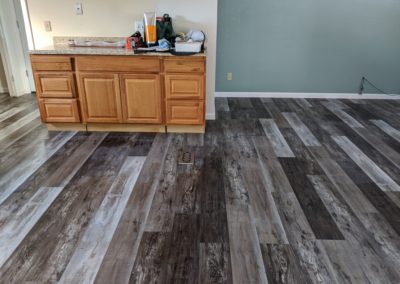
3.Floors
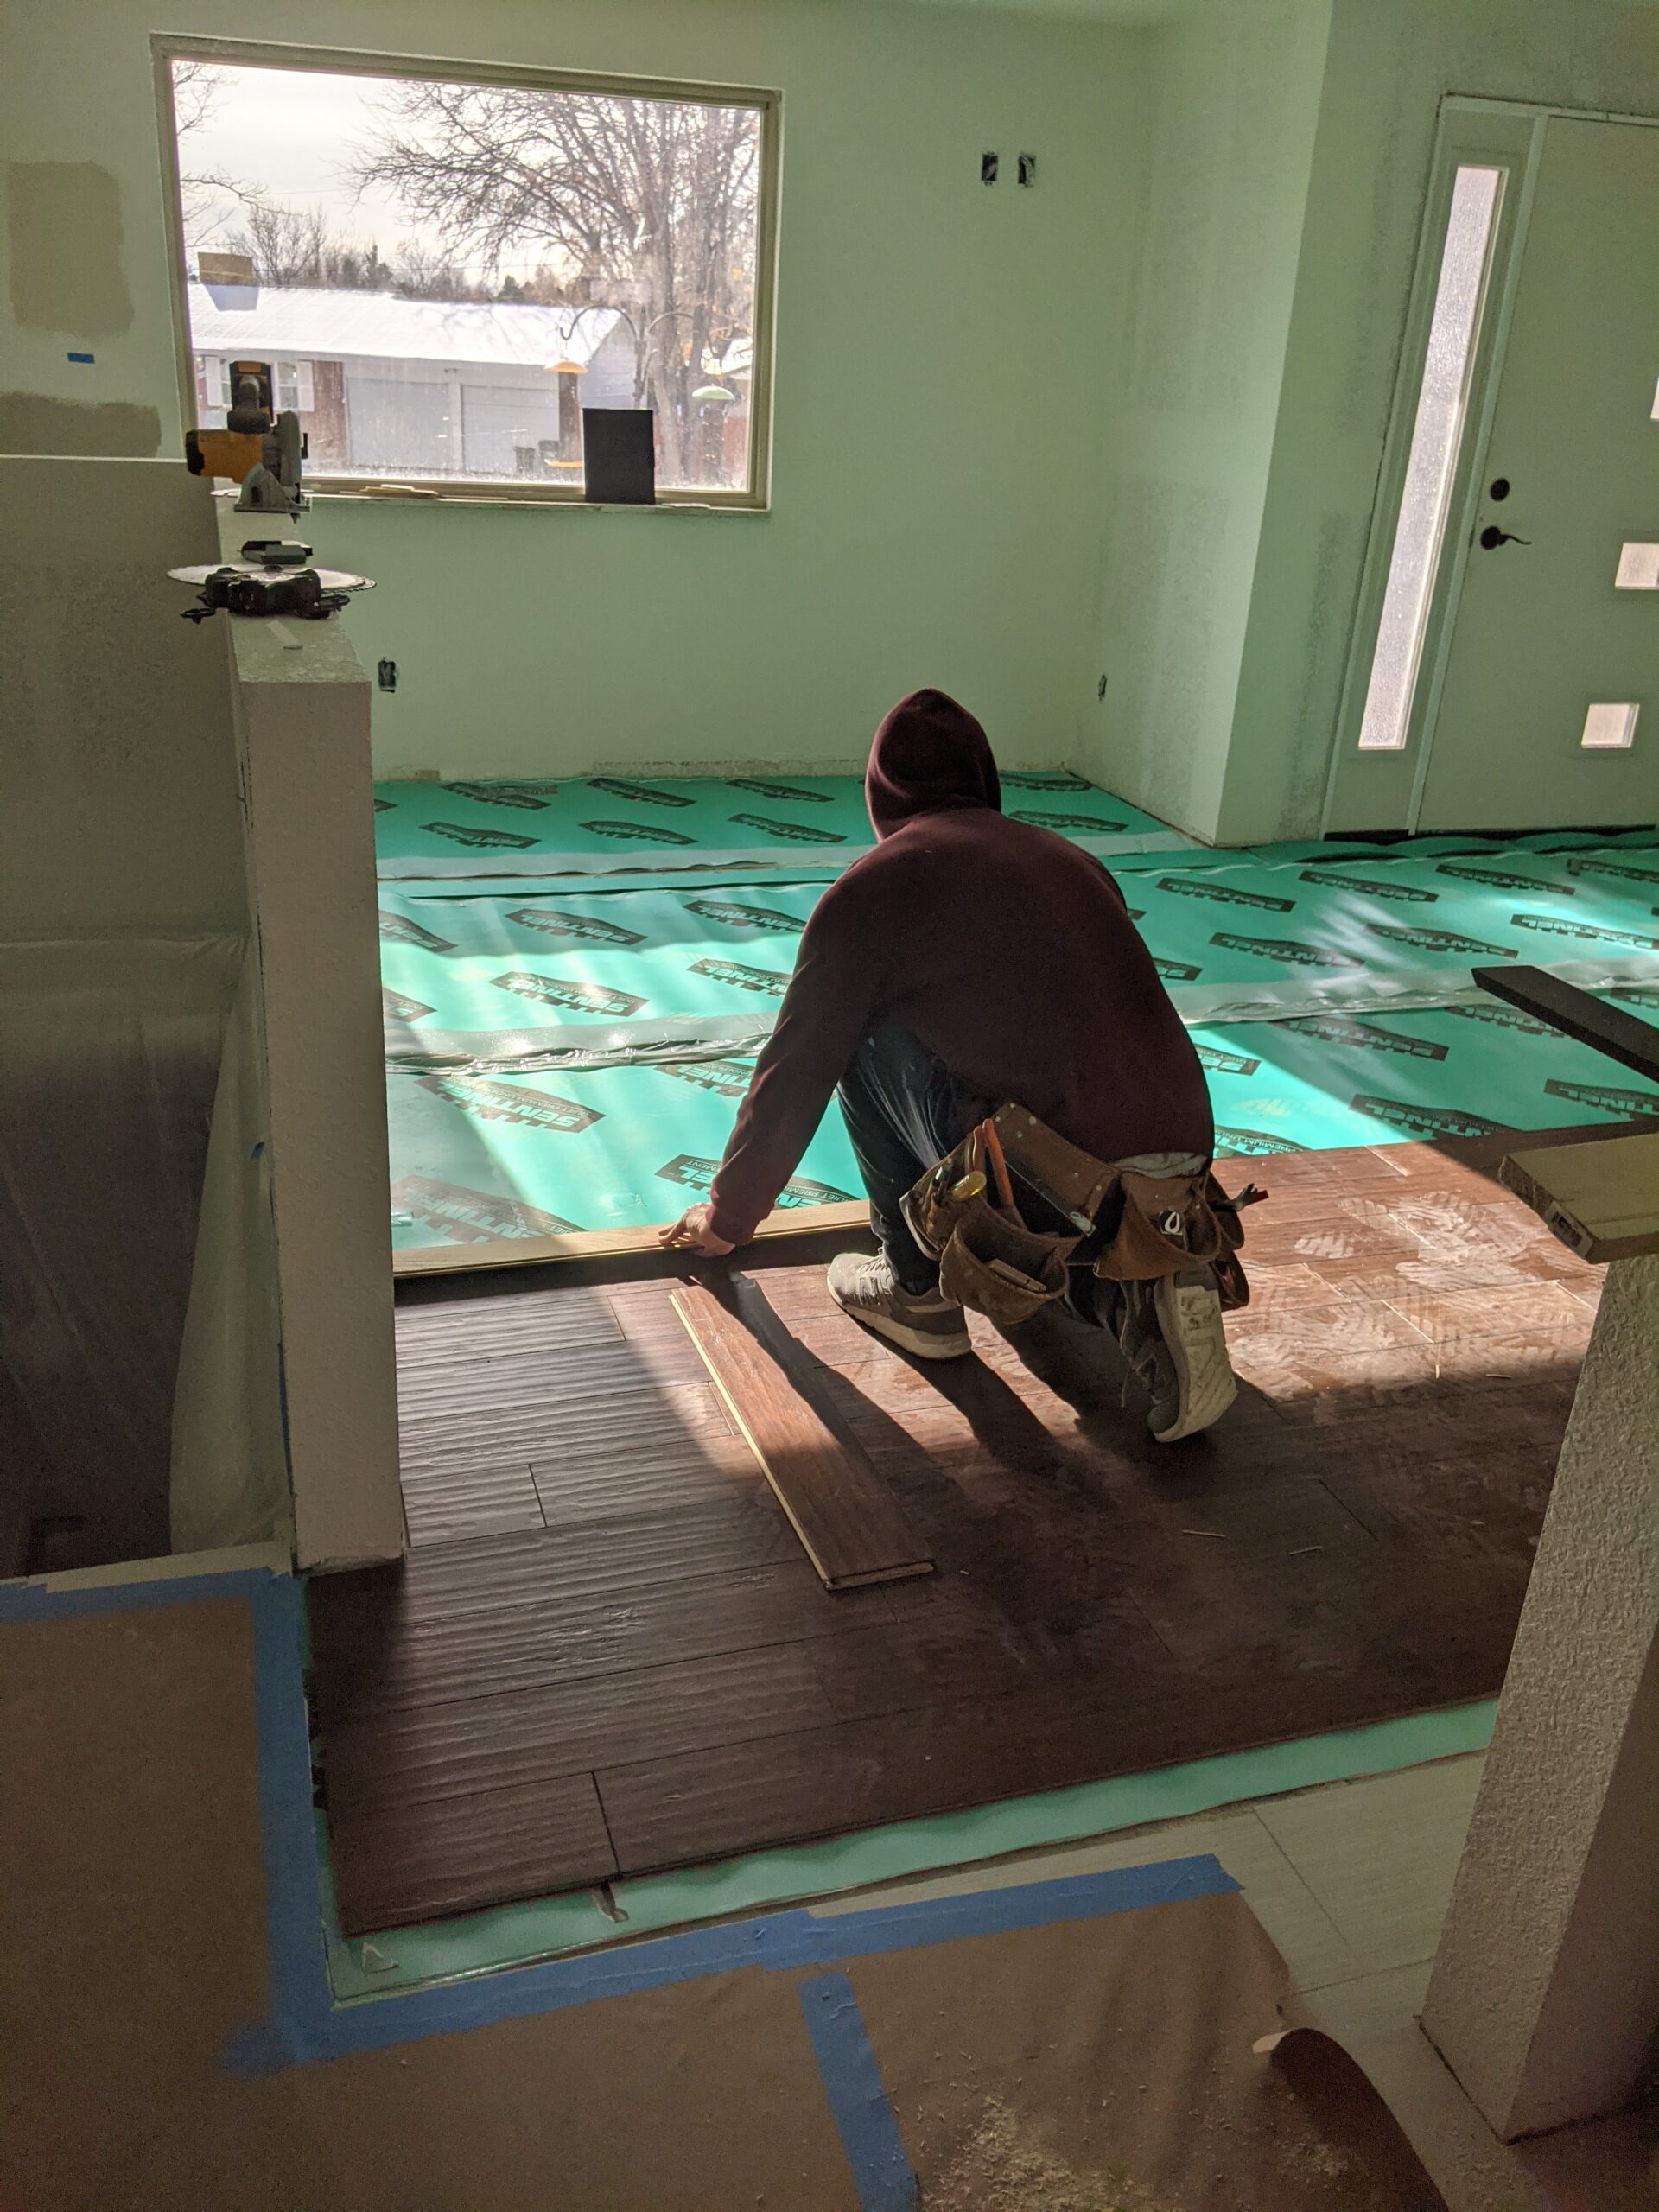
#AFTER Gorgeous, wide-plank, variegated gray, vinyl laminate flooring now flows through the open living space.
10.RemoveWall
#AFTER We patched the drywall to remove any hints of the former wall or damaged ceiling. Can you tell where the wall was?
4.Floors
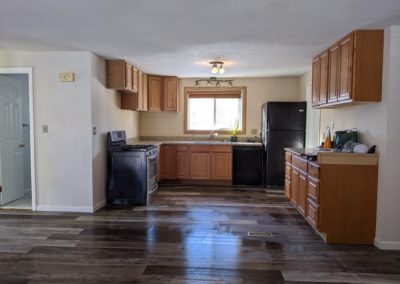
#AFTER With the wall and old flooring removed, this wide-plank vinyl laminate flooring flows through the living room, kitchen, and hallway.
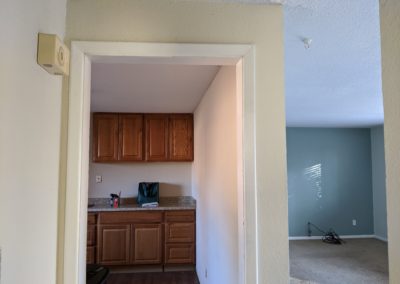
5.Floors
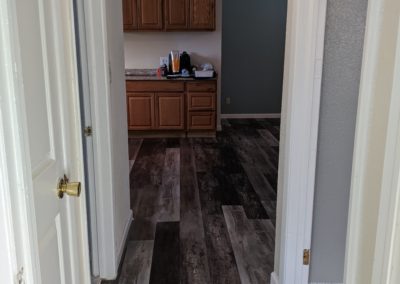
#AFTER View from the hallway, where a single vinyl flooring smoothly meets the original hardwood floors in the bedroom (right door), tiles in the bathroom (left door), and rolls into the open living room/kitchen space.
6.Floors
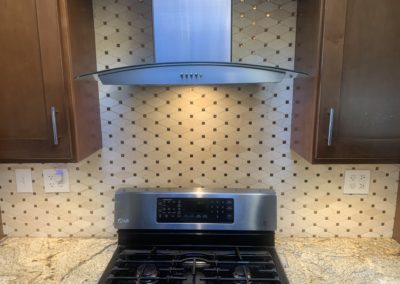
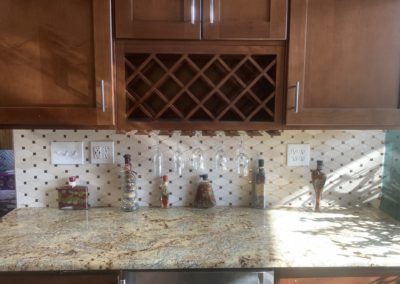
Looking for something different? Mix tiles of different sizes, shapes, and materials. This backsplash with diamond tiles and gold square accents adds glamour and bling to this kitchen.
7.Floors
The tiny gold tiles in this backsplash subtly reflect light around the kitchen, while the diamond-shaped tiles match the lightest tones in the granite countertop. The diamond design is also mirrored in the wine rack.
8.Floors.5.Bathrooms
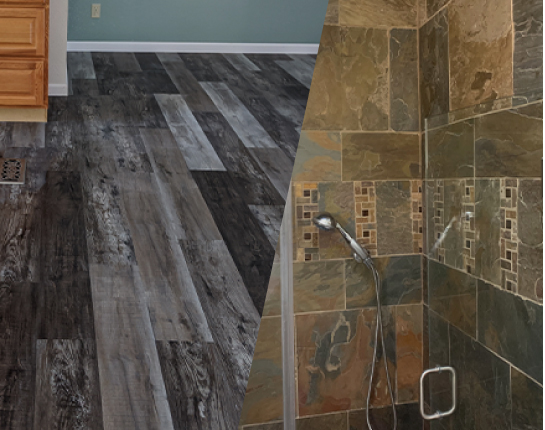
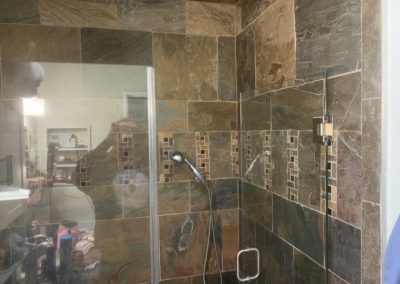
Chris created a dramatic effect in this shower by using at least 5 different sizes of square and rectangular slate tiles.
9.Floors
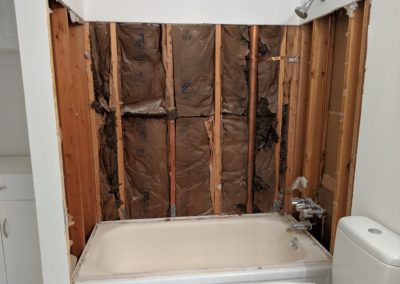
#BEFORE The tiles and drywall were removed to the studs to prepare this shower for new tiles and plumbing. The tracks for the glass shower doors (which we also removed) and decades of use damaged the bathtub’s surface, so we brought in a specialist to reglaze it with a smooth finish. Hiring an expert to repair discoloration and chips in the tub was significantly more affordable than removing and replacing it.
10.Floors
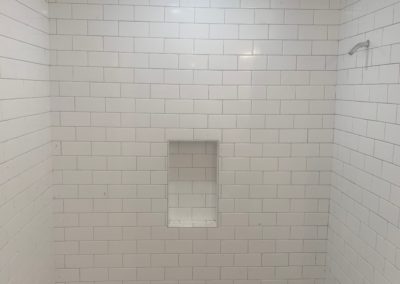
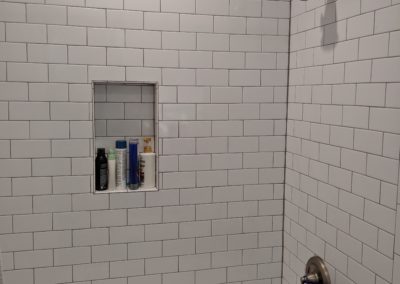
#DURING We protected the refinished bathtub surface while installing subway tiles to the ceiling and adding a nook to this shower. We also updated the plumbing from 3 knobs for temperature and water direction to a single dial that the owner picked.
11.Floors
#AFTER This shower got a facelift with new subway tiles, faucets, and refinished bathtub surfaces.
12.Floors
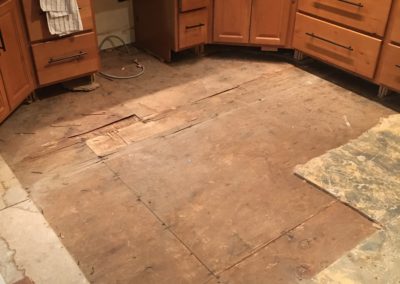
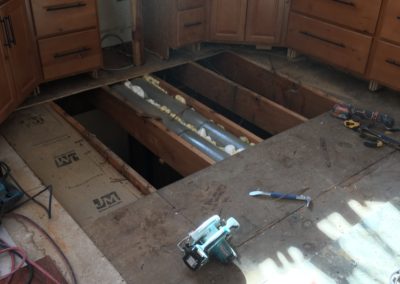
#BEFORE When the dishwasher flooded, it damaged the subfloor in the kitchen and ceiling tiles in the room below.
14.Floors
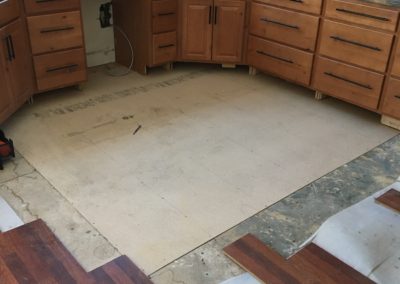
#AFTER We replaced the water-damaged subfloor with new plywood. Now this kitchen is ready for new flooring to be installed.
15.Floors
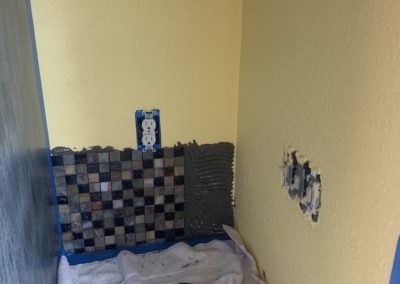
#DURING The tight space and tiny tiles in this kitchen nook didn’t stop our expert installer from delivering a top-notch finish.
16.Floors
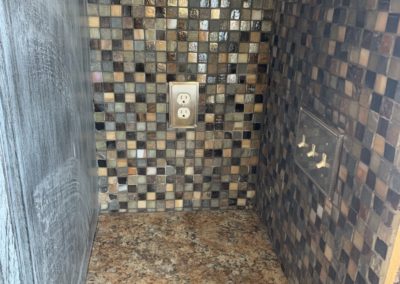
#AFTER Chris completed a top-notch finish with these tiny tiles in this tight kitchen nook.
17.Floors.6.Bathrooms
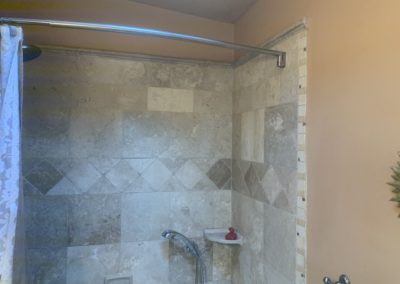
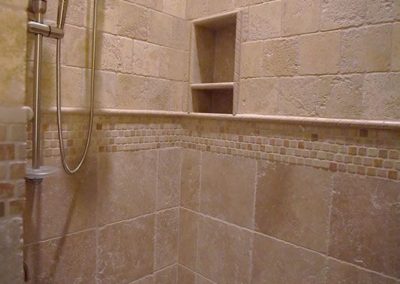
First, we installed the plumbing for the wall-mounted shower head, hand-held shower head with hose, and tub spout. Then we tiled and added the decorative features with a row of squares rotated to be diamonds, soap ledge, and rounded top edge. Our precision work turned simple materials in a standard bathtub into a touch of luxury!
18.Floors.7.Bathrooms
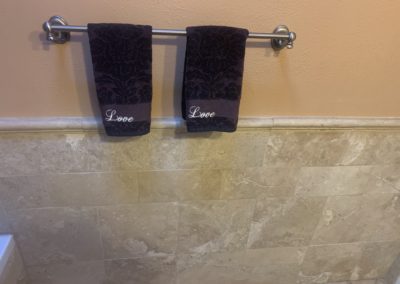
The tiles used in the shower were continued onto the rest of the bathroom walls as wainscotting and backsplash with the same rounded top edge.
19.Floors
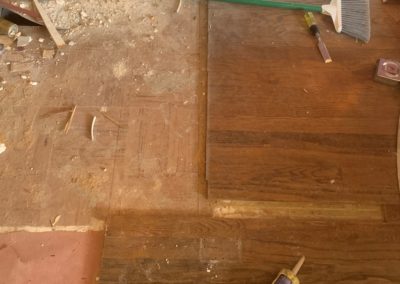
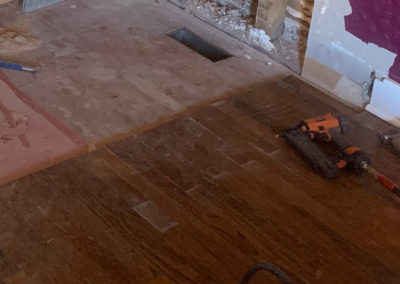
#BEFORE When we removed the staircase, the original hardwood floor next to the wall was almost a foot shorter than the adjacent boards and one section was missing.
20.Floors
#AFTER We filled in gaps in the original hardwood floor with boards that would be covered by the stair’s new location for a perfect match. We always aim to repair and reuse materials, before replacing them with new ones.
21.Floors
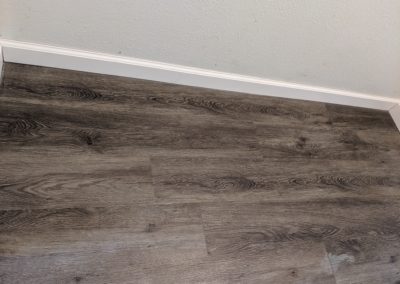
We installed this durable, waterproof, vinyl laminate floor throughout an apartment, even in the bathroom. We fell in love with its easy installation, grooved texture, and gorgeous gray shades!
22.Floors
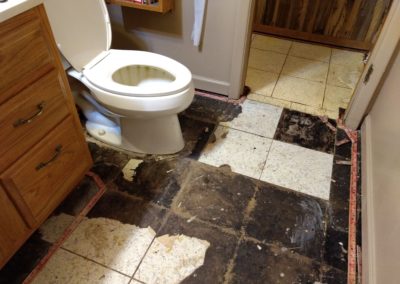
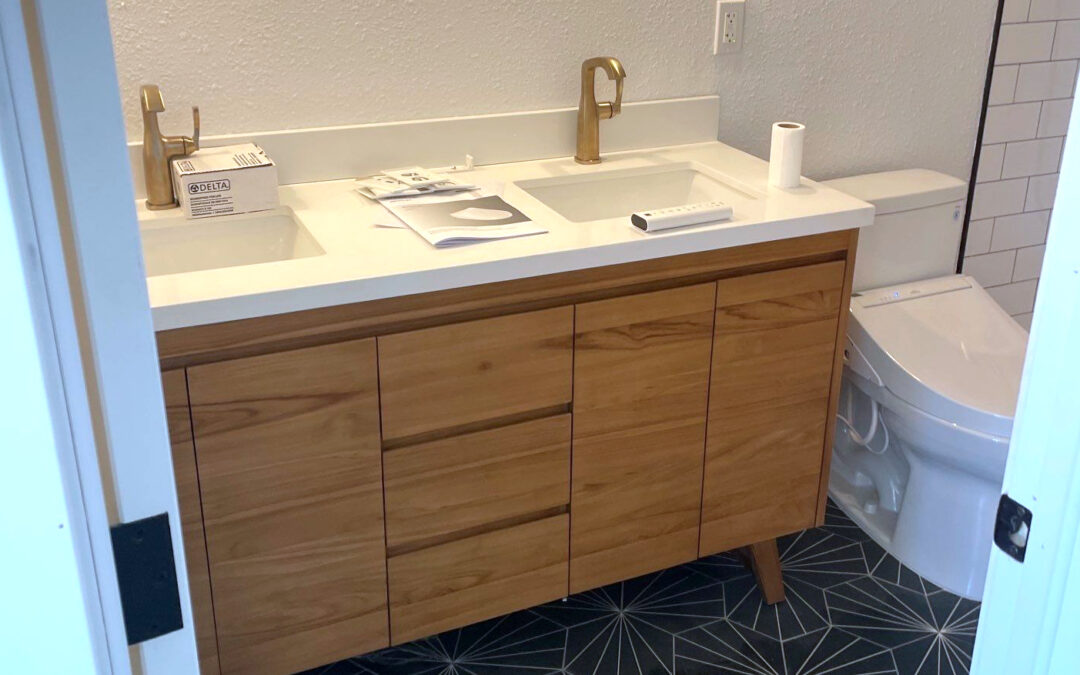
#BEFORE A plumbing disaster forced this owner to replace the flooring in her basement bathroom and hallway, as well as the toilet and vanity.
23.Floors
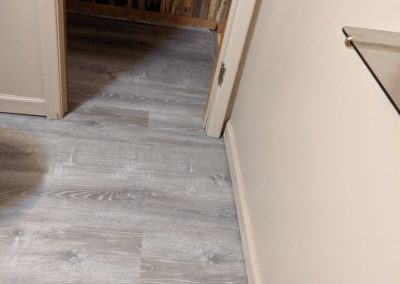
#AFTER Durable, light gray, vinyl flooring now flows from her basement bathroom into the hallway.
24.Floors
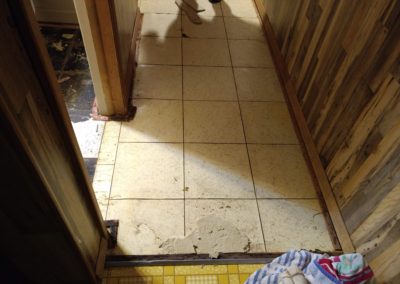
#BEFORE The basement hallway, bathroom, and laundry area had 3 different flooring products and uneven seams.
25.Floors
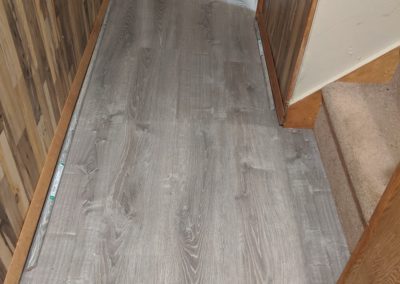
#AFTER Now the basement hallways and bathroom all have the same durable, light gray vinyl floors. We also installed a transition piece at the laundry area for a smooth seam where the 2 types of flooring meet.
