About These Projects
Both of these stairs projects are great examples of how you can stretch your home improvement budget by reusing existing materials whenever possible. The owner pulled off the carpeting on the first set of stairs, leaving holes from the staples and chipped paint from foot traffic. We patched the holes with wood filler, sanded, and painted the trim for a bright, smooth finish without having to replace the lumber. On the second project, we moved a staircase from the back to the side wall of the living room, which opened up the space to fit more furniture. We also added a useful storage cubby and other details to the new landing.
Photo Gallery
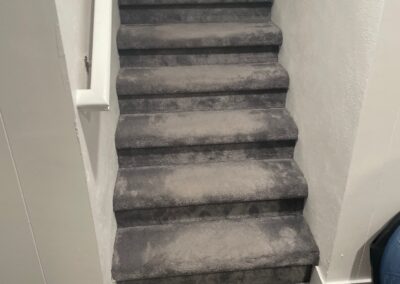
BEFORE- SchallStairs
Before: At first glance, these stairs looked fine—but the homeowner knew something felt off. Trusting their gut led to an important discovery underneath the carpeted surface.
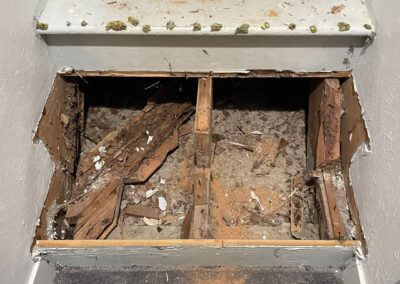
DURING- SchallStairs
During: Once the carpet was pulled back, the extent of the damage became clear. What should have been solid wood was brittle and crumbling—posing a serious safety risk.
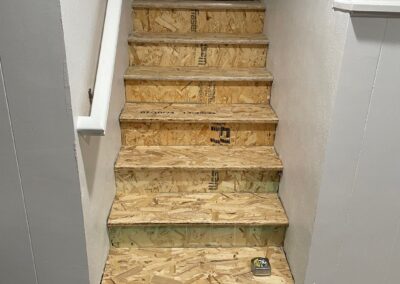
DURING- SchallStairs Rebuilt
Rebuild in Progress: We replaced the damaged structure with solid, secure stair framing—setting the stage for a safe and polished finish.
1.Stairs
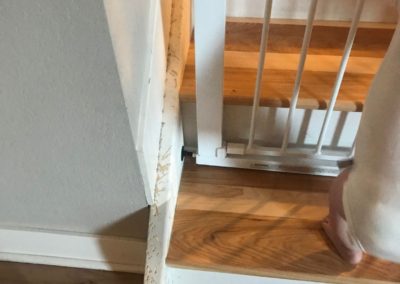
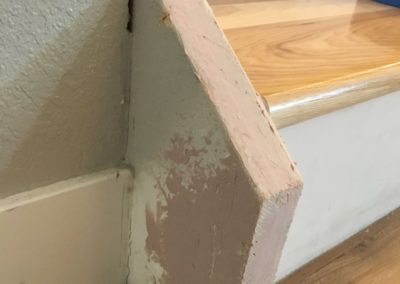
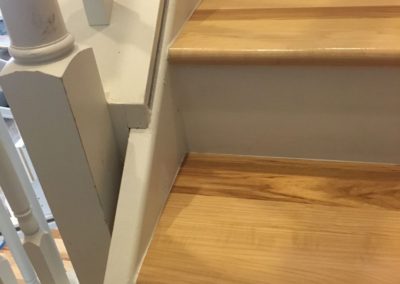
#BEFORE The trim on these stairs has hundreds of holes and scratches from carpet staples that were removed.
2.Stairs
#DURING We saved the homeowners time and money by patching, priming, and painting the wood trim, rather than replacing it.
3.Stairs
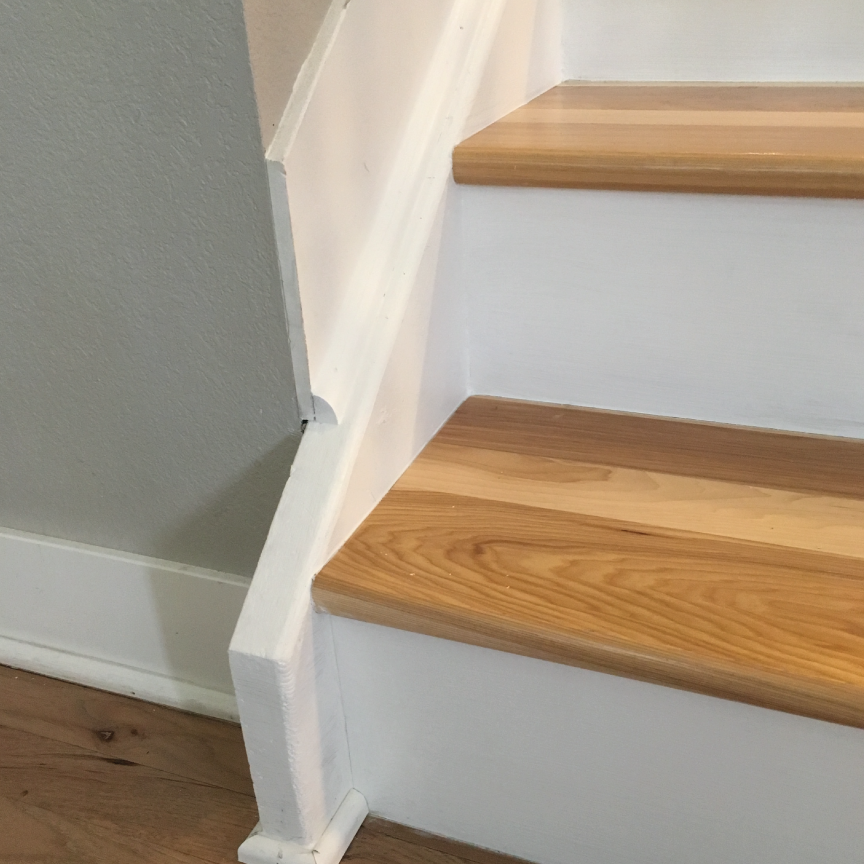
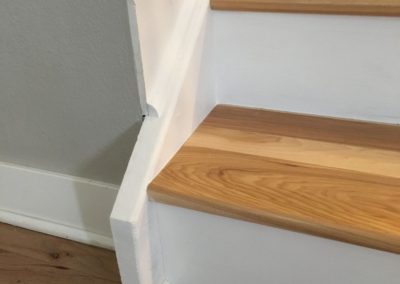
#AFTER Sanded and painted, the trim on the stairs shows no sign of the damage from carpet staples.
5.stairs
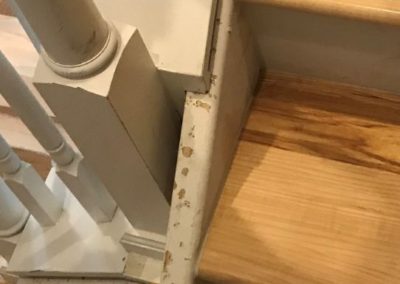
#AFTER We patched the trim on the landing with wood filler, then sanded and painted it to restore it after damage by carpet staples.
6.Stairs
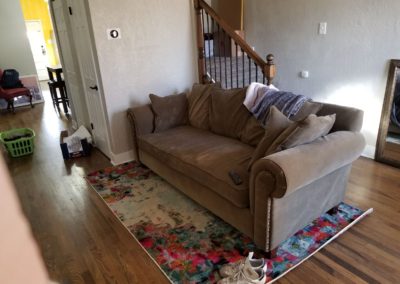
#BEFORE In the original layout of this old Denver home, the owner had to put her couch in front of the stairs because it didn’t fit along the back wall between the bottom of the stairs and the window.
7.Stairs
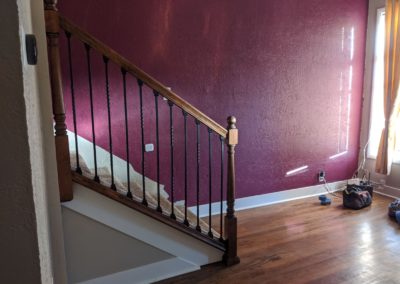
#BEFORE This flight of stairs cuts up the living room in this old Denver home, making it hard to fit a couch or loveseat. The owner envisioned a much smarter layout by rotating the stairs 90 degrees to the other wall. She started the room’s transformation by painting the back wall cranberry.
8.Stairs
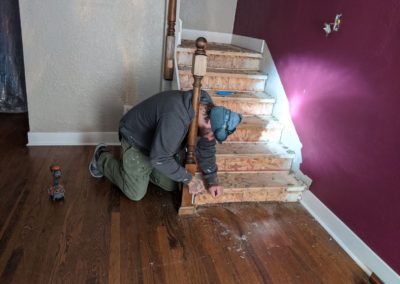
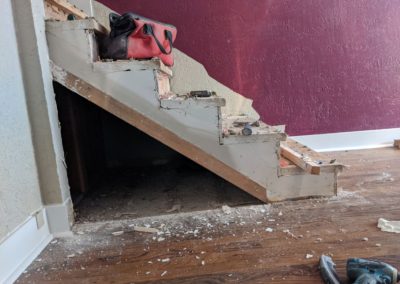
#DURING We removed the carpet, handrail, and posts before rotating these stairs to the opposite wall to make more space in this living room.
9.Stairs
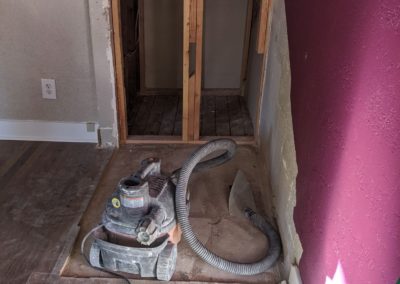
#DURING We discovered an active heat vent (dark spot under third step) when we moved these stairs in this old Denver home. The hot air was trapped under the stairs, wasting money and energy.
10.Stairs
#DURING We removed the bottom flight of stairs up to the original landing—and all of the debris underneath it.
11.Stairs
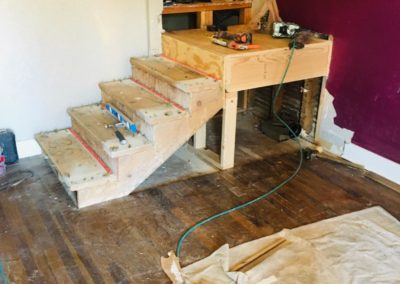
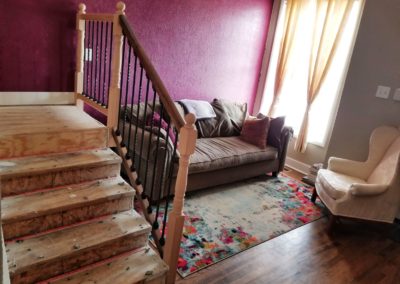
#DURING We reused 4 of the 5 original steps when we rotated these stairs to the other living room wall. We also built a second landing to keep plenty of headroom on every step. Underneath, you can see the beginning of the new heat ducting we added to pump out the hot air from the vent we uncovered.
12.Stairs
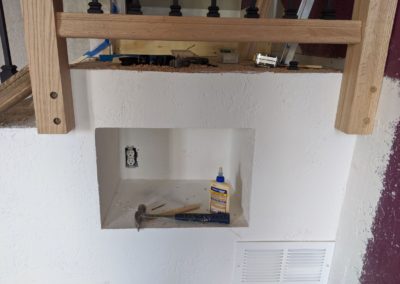
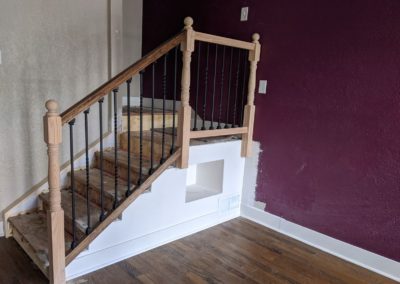
#DURING We built a storage cubby into the new landing and relocated an outlet to the back of it for easy access. (It was also a handy spot to put our tools while we glued wood plugs to cover the bolt holes in the railing posts.) Heat from the bonus vent we discovered under the stairs is now pumped out the new vent grate cover in the bottom corner.
13.Stairs
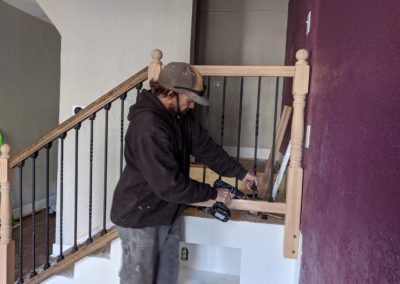
#DURING Josh installed a handrail and metal balusters on the new landing to match the original ones that we reused on the stairs.
14.Stairs
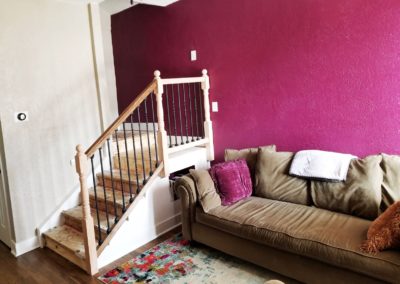
#AFTER We maximized the functional space in this cozy living room by moving the staircase from the back (cranberry) wall to the left (tan) one. The owner said it felt like we added a room! We built a storage cubby, outlet, and heat vent into the new landing to add more valuable features in this old Denver home.
15.Stairs
#AFTER We rotated these stairs to the left to give the owner more usable space in her living room. Now, her couch fits between the stairs and windows along the back wall without blocking the new heat vent and cubby in the landing.
